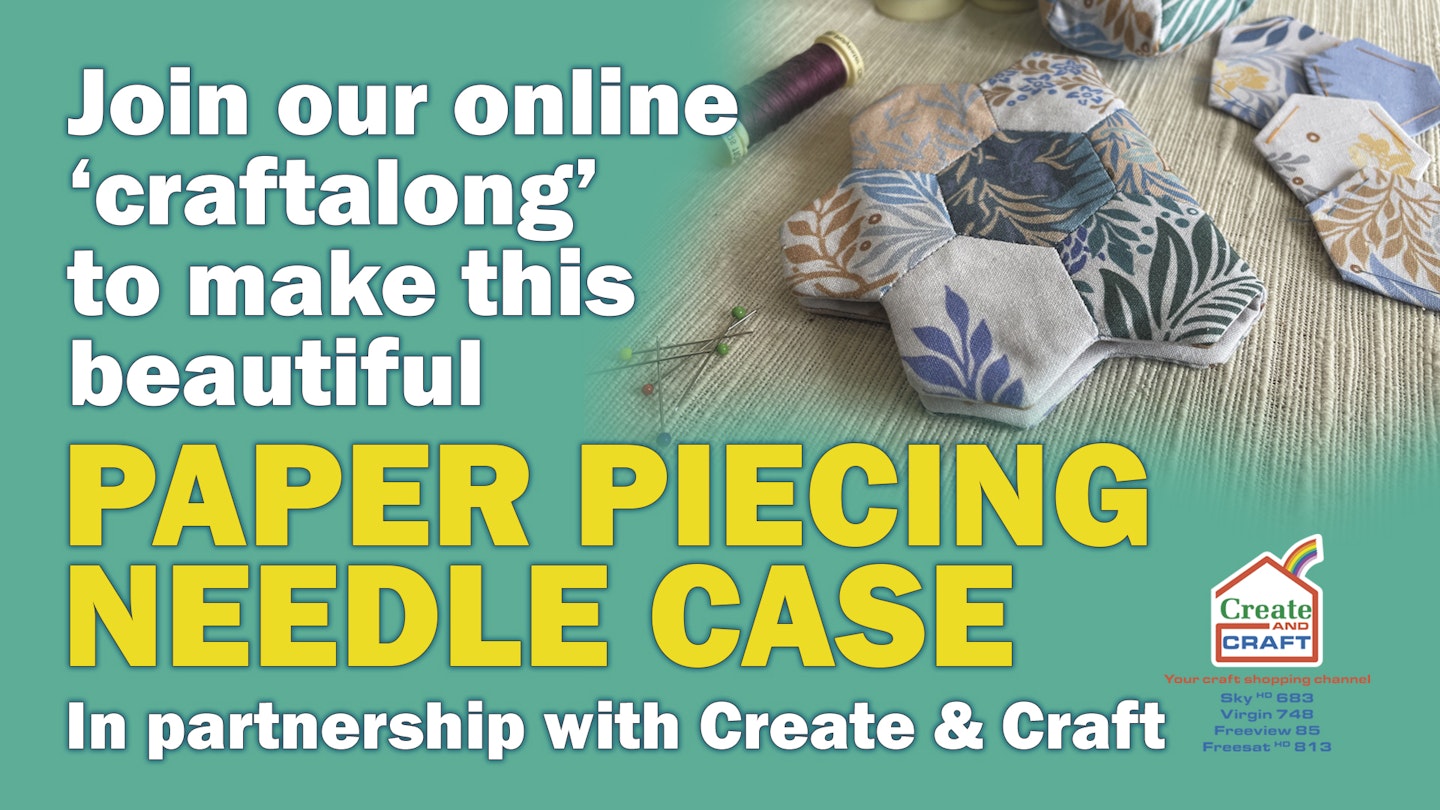
This August, it’s crafting month at Take a Break, and we’ve teamed up with the experts at Create and Craft to bring you some fabulous projects to try. This week, why not have a go at this beautiful paper piecing needle case? It’s easy to make and you can join the online craftalong with Create and Craft’s Hayley.
THE BASICS OF ENGLISH PAPER PIECING
Watch our step-by-step craftalong videos below to see the basics of English Paper Piecing... then scroll down to make your own needle case, pin cushion & bobbin holder!
HOW TO MAKE A NEEDLE CASE
HOW TO MAKE A PIN CUSHION
HOW TO MAKE A BOBBIN HOLDER
-
Place a hexagon on the back of one of your fabric squares, pin in place then trim away the corners leaving a 3/8in (1 cm) border. Fold over the edges of the fabric, tucking in the corners as you go and secure using large tacking stitches. Repeat for all hexagons.
-
Lay the hexagons out in the formation shown and stitch together using a whip stitch. Press front and back with an iron.
-
Remove the tacking stitches so you can then remove the card templates. These can be reused on another project.
-
Lay down the batting then the fabric lining face-up and finally your patchwork piece face down. Pressing seam allowances, will make them easier to sew. Stitch around the guideline catching all three layers, leaving a gap equal to two sides of the hexagons.
-
Turn the project through, push out the corners using a pencil or chopstick and press before stitching the gap. We recommend a ladder stitch - you can see this on the videos that accompany this project. Scan the QR code at the bottom of this page to view.
-
Finally, centre the pieces of felt on the lining, pin in place then stitch to create the pages


