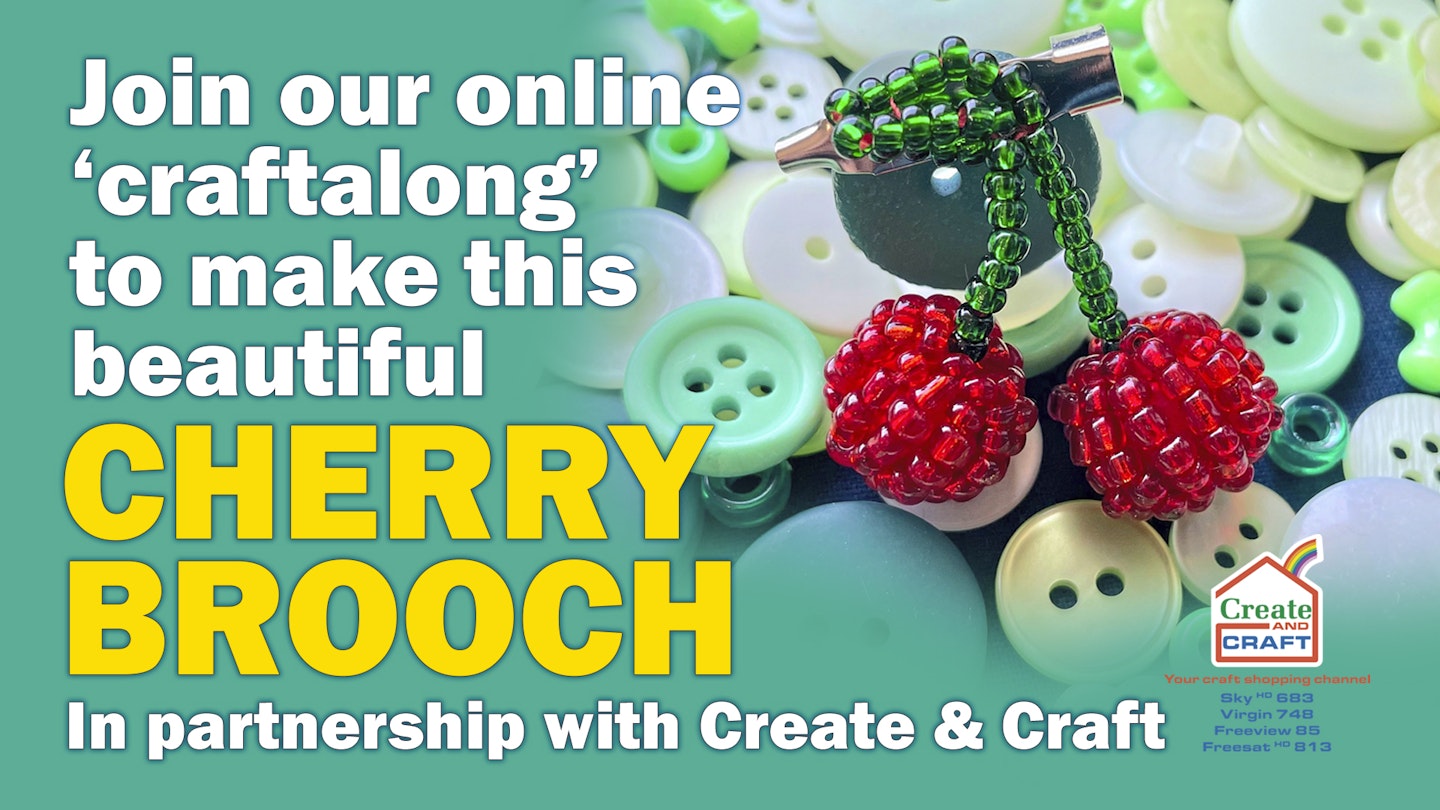
This August, it’s crafting month at Take a Break, and we’ve teamed up with the experts at Create and Craft to bring you some fabulous projects to try. This week, why not have a go at this cute cherry brooch?
It’s easy to make and you can join in the online ‘craftalong’ with Create and Craft’s Hayley. Buy everything you need as a kit by clicking the button below.
HOW TO MAKE A CHERRY BROOCH: STEP 1
HOW TO MAKE A CHERRY BROOCH: STEP 2
HOW TO MAKE CHERRY EARRINGS
HOW TO MAKE A CHERRY BROOCH
-
To make the cherry, thread your beading needle with 50cm of beading thread. Take this through the red wooden bead leaving a 5cm tail at top for the stalk. Thread seven red seed beads on, take the needle back through the centre of the wooden bead, then back through the seed beads finishing at the top. Pull tight and tie with a double knot to secure.
-
Repeat the process of adding strings of seven seed beads to the outside of the wooden bead five more times. At first the strings will seem a bit wobbly, but the more you add, the more stable it becomes.
-
Now you have six strings of seven beads spread them evenly over the wooden bead then repeat the process adding strings of six in between those to make 12 in total.
-
Thread 24 green seed beads onto the 5cm thread you left at the top. Count back 14 and thread through seven of those to create a loop, which will start the leaf. Thread on six additional beads then go back to where the loop joined and thread through the remaining seven beads to complete your leaf.
-
Repeat steps 1-3 to create a second cherry.
-
With the thread at the top of the second cherry add eight green beads then secure to the other cherry by threading through the leaf and tying off.
-
Finally, with the remaining thread, secure the brooch fixing through the holes at the bottom.


