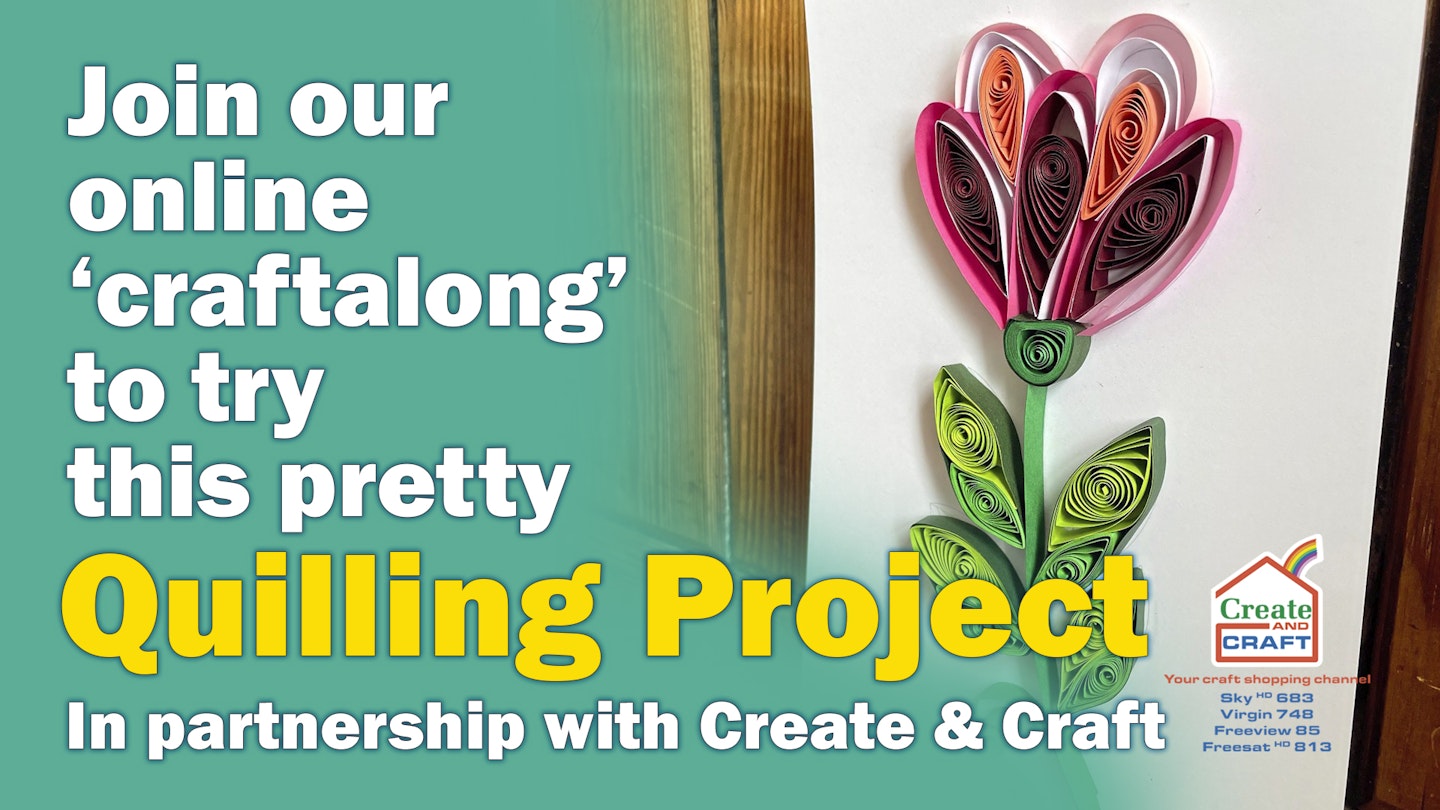
Here at Take a Break, we’ve teamed up with the experts at Create and Craft to bring you this pretty quilling project to try. It’s easy to make and you can join the online ‘craftalong’ with Create and Craft’s Hayley and buy everything you need to make this project with the kit below!

Watch our step-by-step craftalong videos below to see the basics of quilling, download and print the template below, then scroll down to make your own flower!

HOW TO MAKE A QUILLED FLOWER
-
Take a strip of quilling paper and slide the end into the slot in the tool, then wind. Use the thumb and finger on your other hand to guide the paper into a coil and stop it from springing off as you go.
-
Once it’s wound on, place the roll into the circle template on the quilling board and let it expand to fill the circle. Remove it and stick the loose end to the rest of the coil with glue.
-
Repeat steps 1 and 2 to make: 7 x 30mm circles — four in light green and three in dark pink; 6 x 20mm circles — four
in mid green and two in light pink; 1 x 15mm circle, in light green. -
Draw, trace, or print the flower design on to your backing card. Use green quilling paper to add a stem and a curled leaf. To glue these down, add small dots of glue along the line, place the edge of the paper along the glue line and hold in place until the glue has grabbed the paper. When creating curves or curls, bend them into the shape before sticking them in place.
-
For the base of the flower, squeeze two corners into the 15mm light green coil, then wrap a couple of dark green layers around it and glue in place. Squeeze the pink coils at one end to create petal shapes. Add a white outer layer to each petal. Glue the three dark pink petals into place coming out of the base of the flower, then add the lighter ones in between those.
-
For the leaves, squeeze the remaining light and mid green coils into leaf shapes. Using one of each shade per leaf, create four leaves by adding a dark green outer layer, then stick these to the base. Finally, use quilling paper to add outlines to the petals.

