
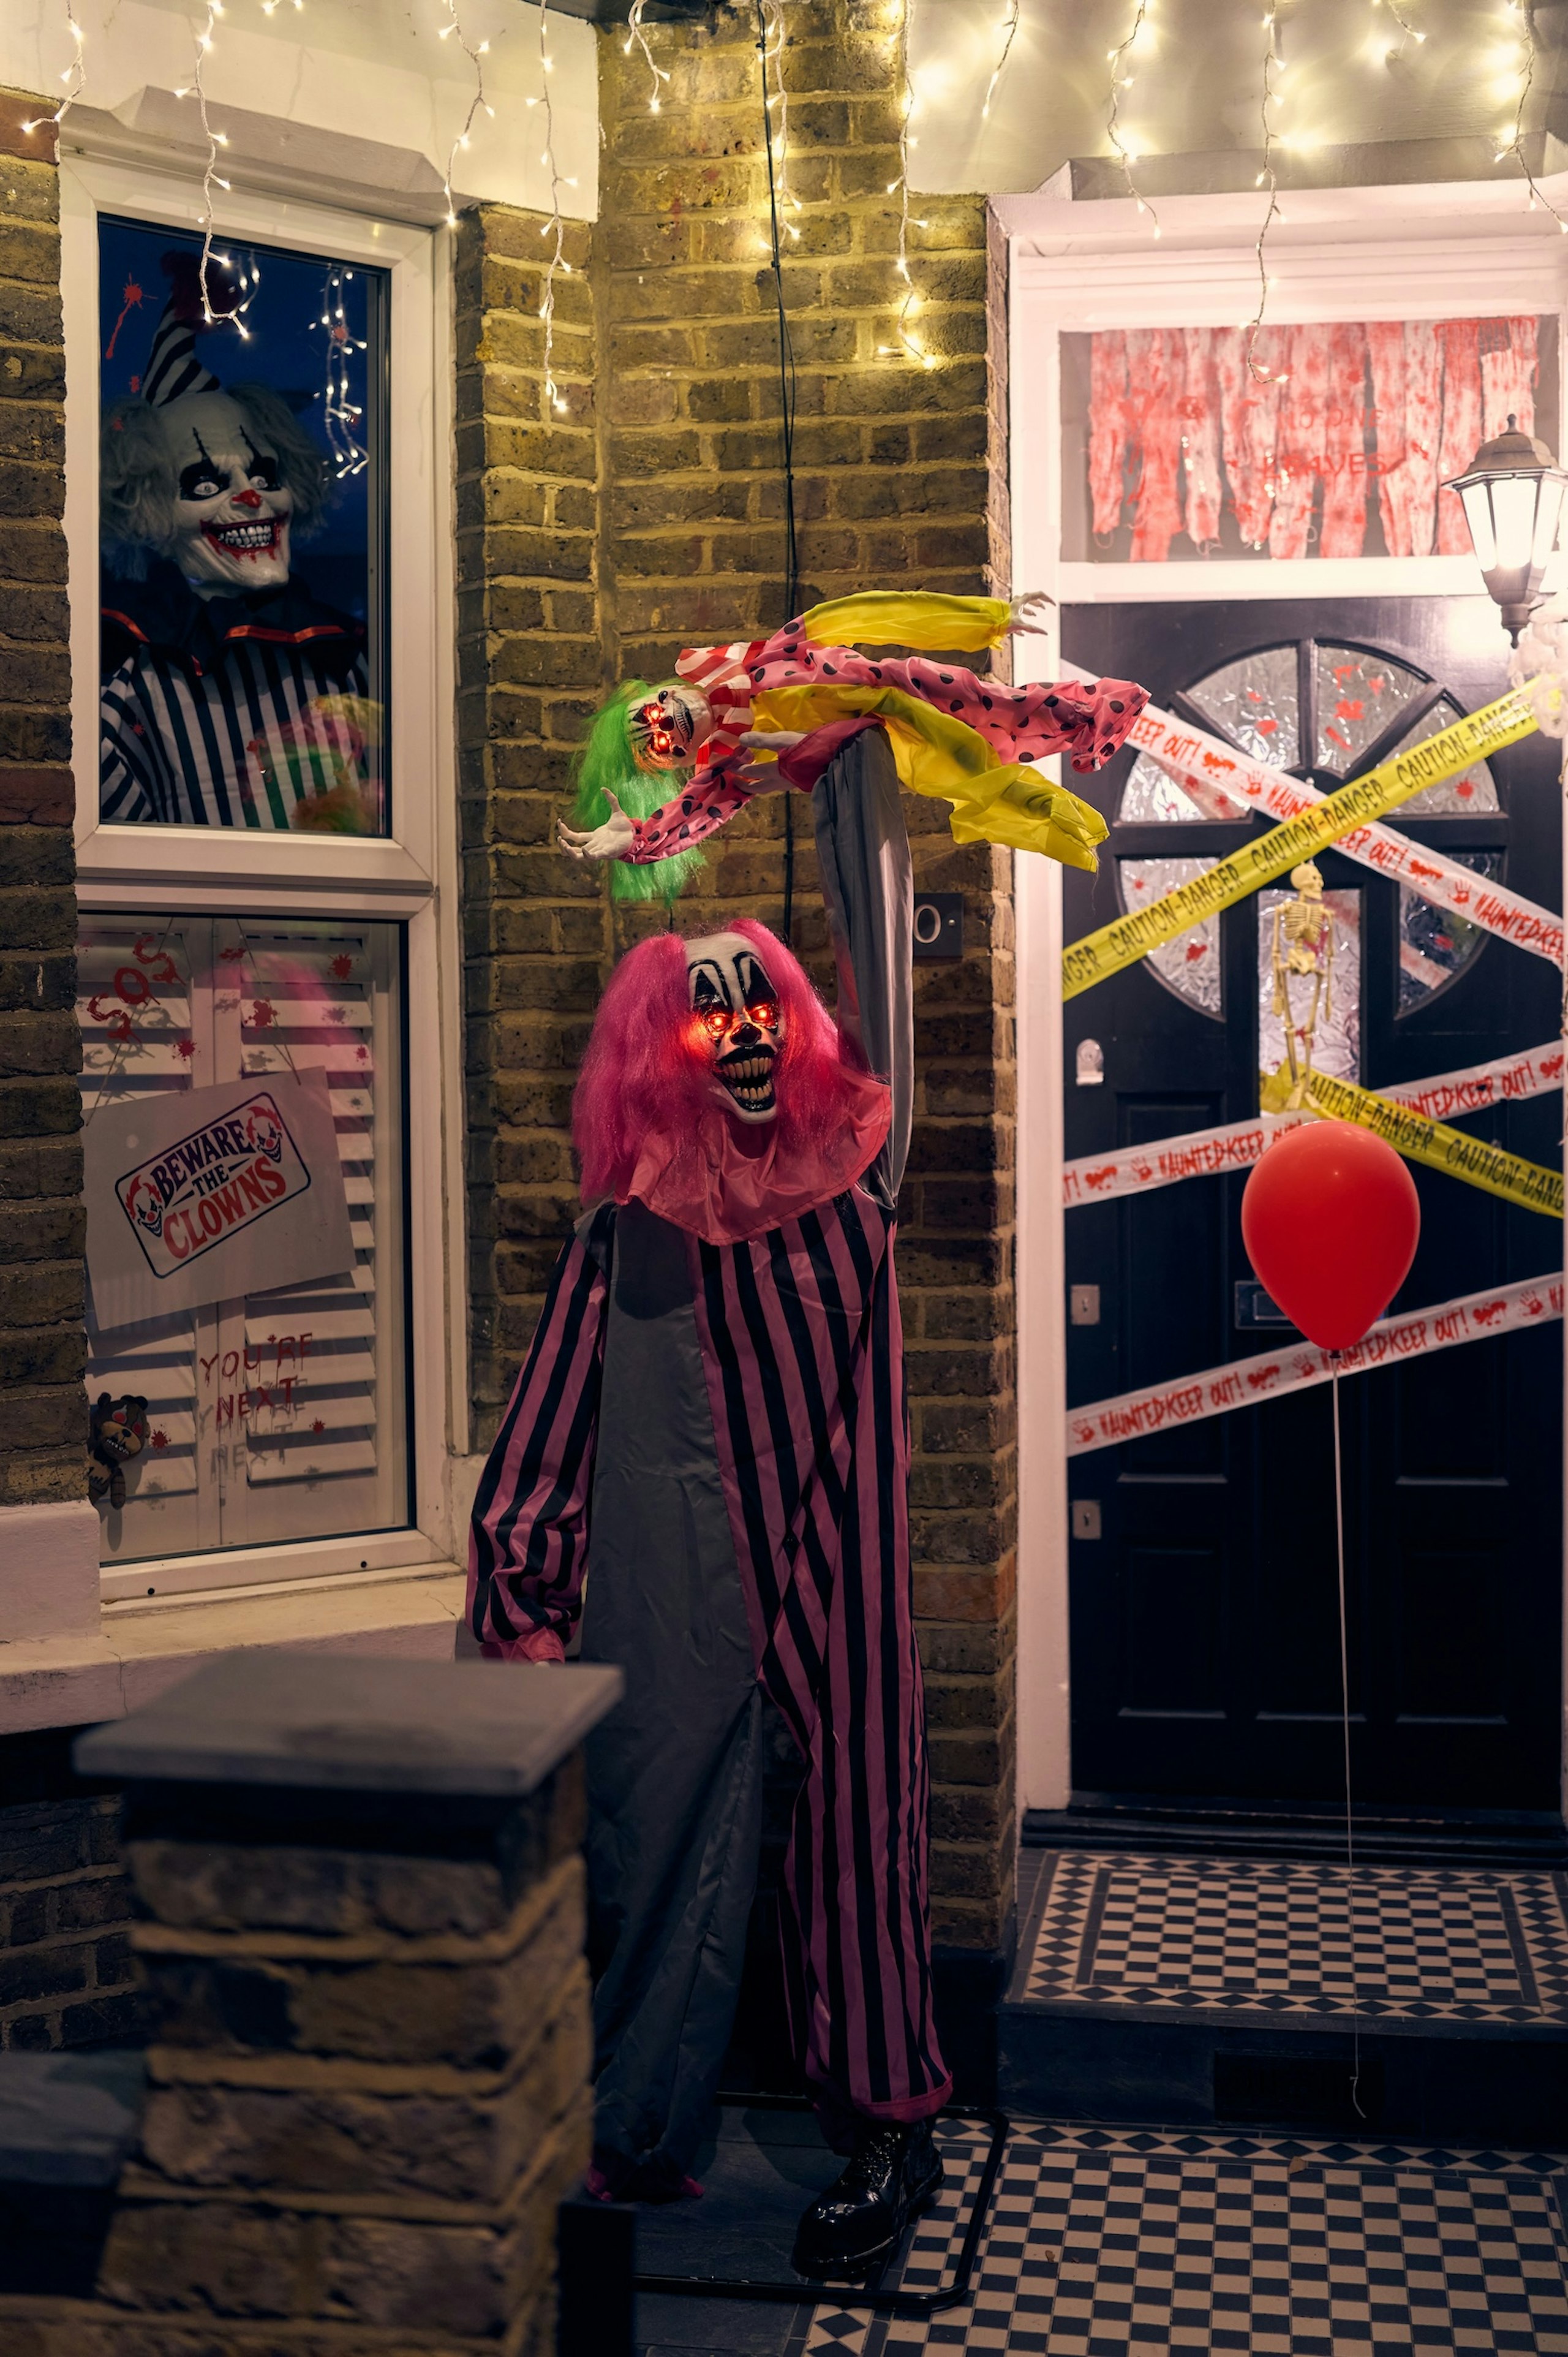
When decorating your home for spooky season, the first instinct is usually to think about what everything is going to look like - the skeletons, the spiders, the cobwebs. But creating a creepy atmosphere isn't only about what people see - it's also about what they hear and feel.
RWS Global is a leading creator of immersive entertainment, behind Halloween experiences at attractions including LEGOLAND, Chessington World of Adventures and Fright Nights at Thorpe Park. Here, Craig Laurie, Chief Creative Officer at RWS Global, gives his top tips for making your home truly scary this Halloween. And whether you want to get crafty or turn to shop bought decorations, we put the Cricut Joy Xtra to the test and trawled through the amazing range of creepy props from The Range to illustrate how you can transform your home into something spook-tacular...
1. Start with sound
Craig says, 'What people hear can be just as important as what they see. Instead of simply putting on a Halloween playlist, try building your own soundscape. Using equipment you may already have at home and a programme like GarageBand, you can layer wind, thunder, creaking doors, whispers, distant screams, footsteps, bells or creepy music. Also, do not be afraid of incorporating silence. A cacophony of sound then…silence…then something extremely startling like the screeching violins from the Hitchcock film, Psycho would frighten anybody!
If you have more than one speaker, hide them in different places around the display. Suddenly, people do not quite know where the sound is coming from. That is when it starts getting creepy.'
2. Go BIG with your cobwebs
Craig says, 'Skip the little bags of stretchy spiderweb and try beef netting. It is a trick used by professional haunters and scenic designers, and you can create something much bigger with it.
Stretch it, cut holes into it, and layer it across porches, trees, railings, or even entire sections of the house. And do not make it too perfect. Pull it apart. Make the shapes irregular. The messier it is, the more convincing it starts to look. At night, add some placement blacklight fixtures on the ground and point them upward with neon spiders in their stream and the whole thing suddenly comes alive. The netting is also durable, washable and can be dyed, so you can use it again.'
3. Upcycle cheap decorations
Craig says, 'You absolutely do not need to spend a fortune on professional props. For example, take an inexpensive Styrofoam tombstone from a Halloween or craft shop and start aging it. Add washes of green and brown paint, then dry-brush a lighter colour over the surface to bring out the stone texture. You can also use spray adhesive and add bits of moss to make the tombstone look like it has been sitting in an abandoned cemetery for decades. The impact is all in the details. Keep layering them until that store-bought tombstone stops looking store-bought.'
4. Make ordinary objects part of the scene
Craig says, 'You probably already own more Halloween props than you realise. Books, mirrors, picture frames, candlesticks and furniture can all become part of the environment if you change the way they look. One trick is root-cover spray for hair, which can temporarily give some surfaces a dusty, aged appearance and, depending on the material, can often be cleaned off afterwards. If it is something you are happy to alter permanently, paint, stain or shellac can add the look of several years very quickly. You do not have to transform everything. Pick a few things and make them feel like they belong in the world you are creating.'
5. Do not forget the socks and shoes
Craig says, 'Whether you buy Halloween bodies or make your own mannequins, including the little details is important to sell the illusion. Add a silicone mask, wig, gloves, and a complete outfit. And yes, socks and shoes matter! Then think about where you put the figure. Do not just stand it against a wall. Have it crawling out from underneath a porch, sitting unexpectedly in a chair, peeking through a window, or interacting with another part of the display. A great pose can make a very simple prop genuinely creepy.'
6. Give your skeleton some age
Craigs says, 'Most store-bought skeletons are bright white and pristine. They look like they have just come out of the box…because they have. A little aging can make a huge difference. After checking that the products you are using are appropriate for the material, use a plastic primer and add darker stains to knock back some of that bright finish and bring out the detail in the bones. Then think about what the skeleton is actually doing. Dress it. Give it accessories. Put it somewhere people might not notice immediately. Placement can be much more effective than simply adding more props.'
7. Add one unexpected effect
Craig says, 'You do not need massive special effects to make an impact. A small fog machine hidden behind a tombstone or underneath a porch can completely change the atmosphere. You can also try fog-filled bubbles. They float through space and release little bursts of fog when someone pops them. A small effect in the right place can do much more than throwing everything you have at the space at once. The best Halloween displays create an environment, not just a decoration. Give people something creepy to see, something unexpected to hear, and a few things they have to look twice at. That is when a familiar house starts to feel like somewhere completely different.'
Putting the tips into practice...
We started with sound and changed the chime on the smart doorbell to a Halloween theme, alternating between sounds that include a creaking door and a witch's cackle.
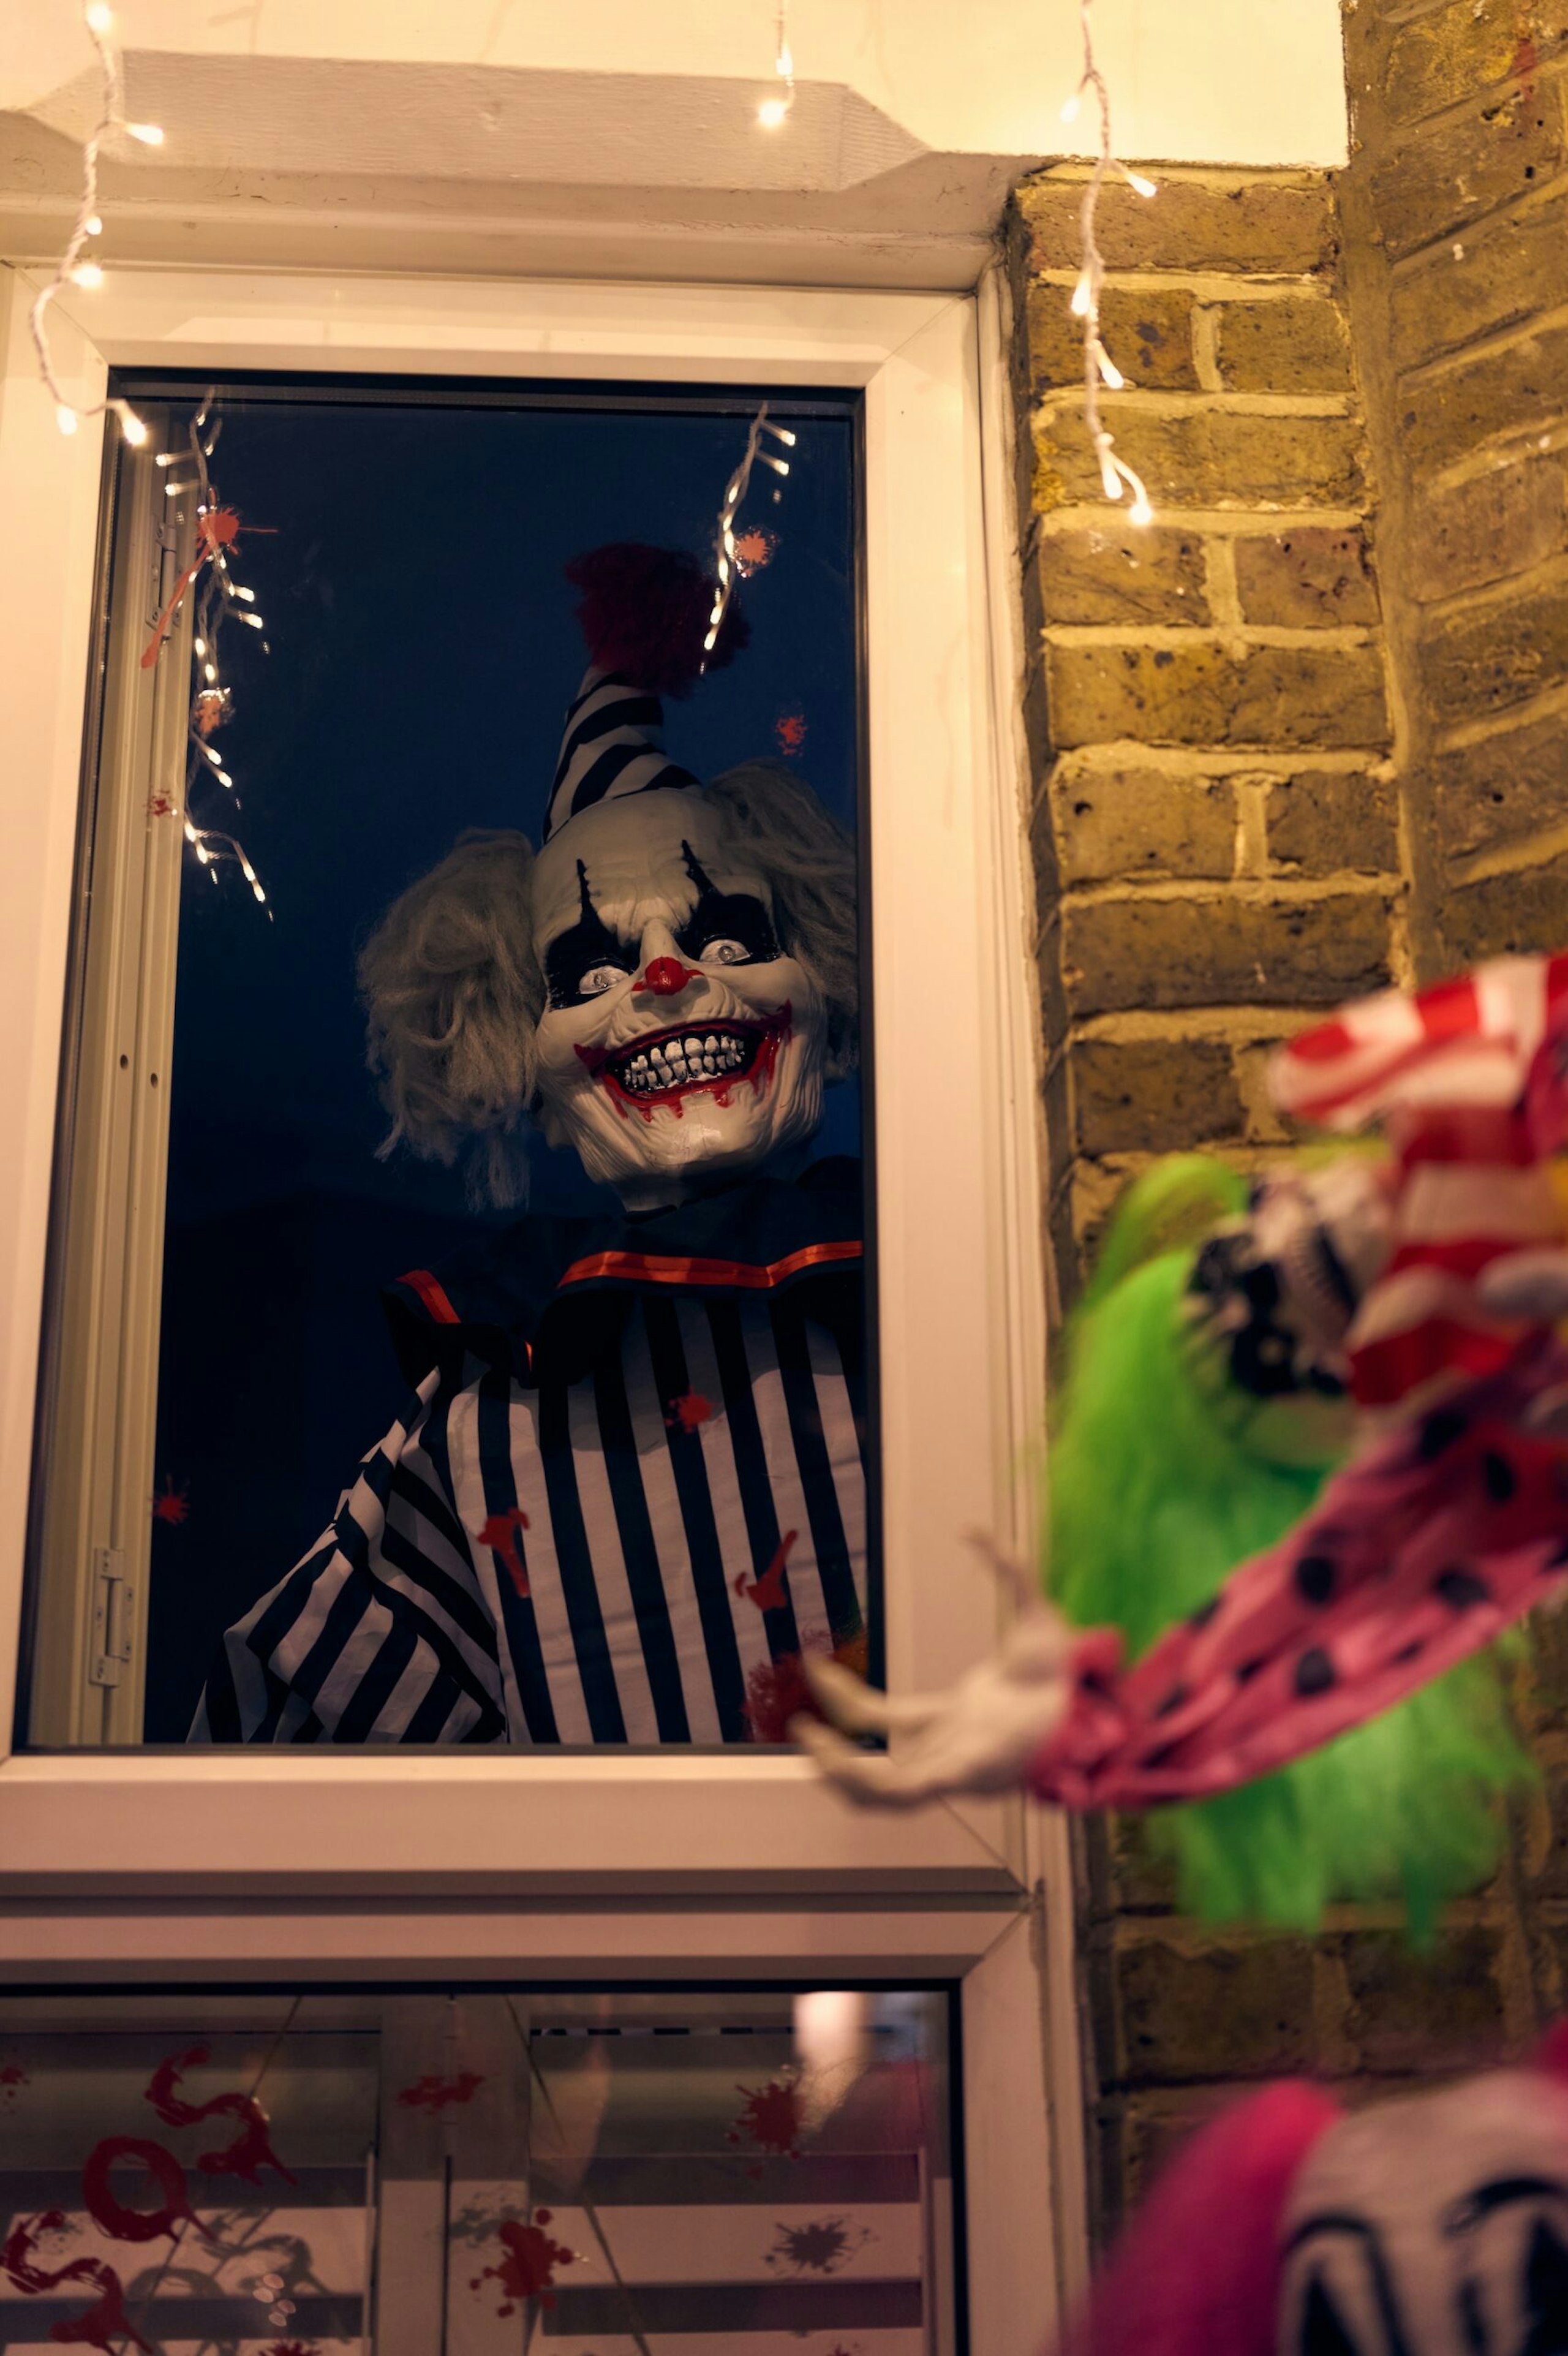
Visually, we wanted to create a set that worked around one theme - we chose clowns. The Range has an incredible offering of reasonably-priced Halloween props and decorations, ranging from kid-friendly to super sinister. We centred our display around an 8ft clown with a terrifying grin. We thought about where to position our sinister new friend, and decided that having him peeking through the window created a genuinely creepy surprise for passersby. He's battery operated and not only does he speak, but at night his light-up red eyes peer out into the darkness.
We continued the frightful fun by giving him a pal, stood next to the doorstep. This clown is also animated with movement, sound and light-up eyes. Operating on motion sensor, it's sure to provide a jump scare.
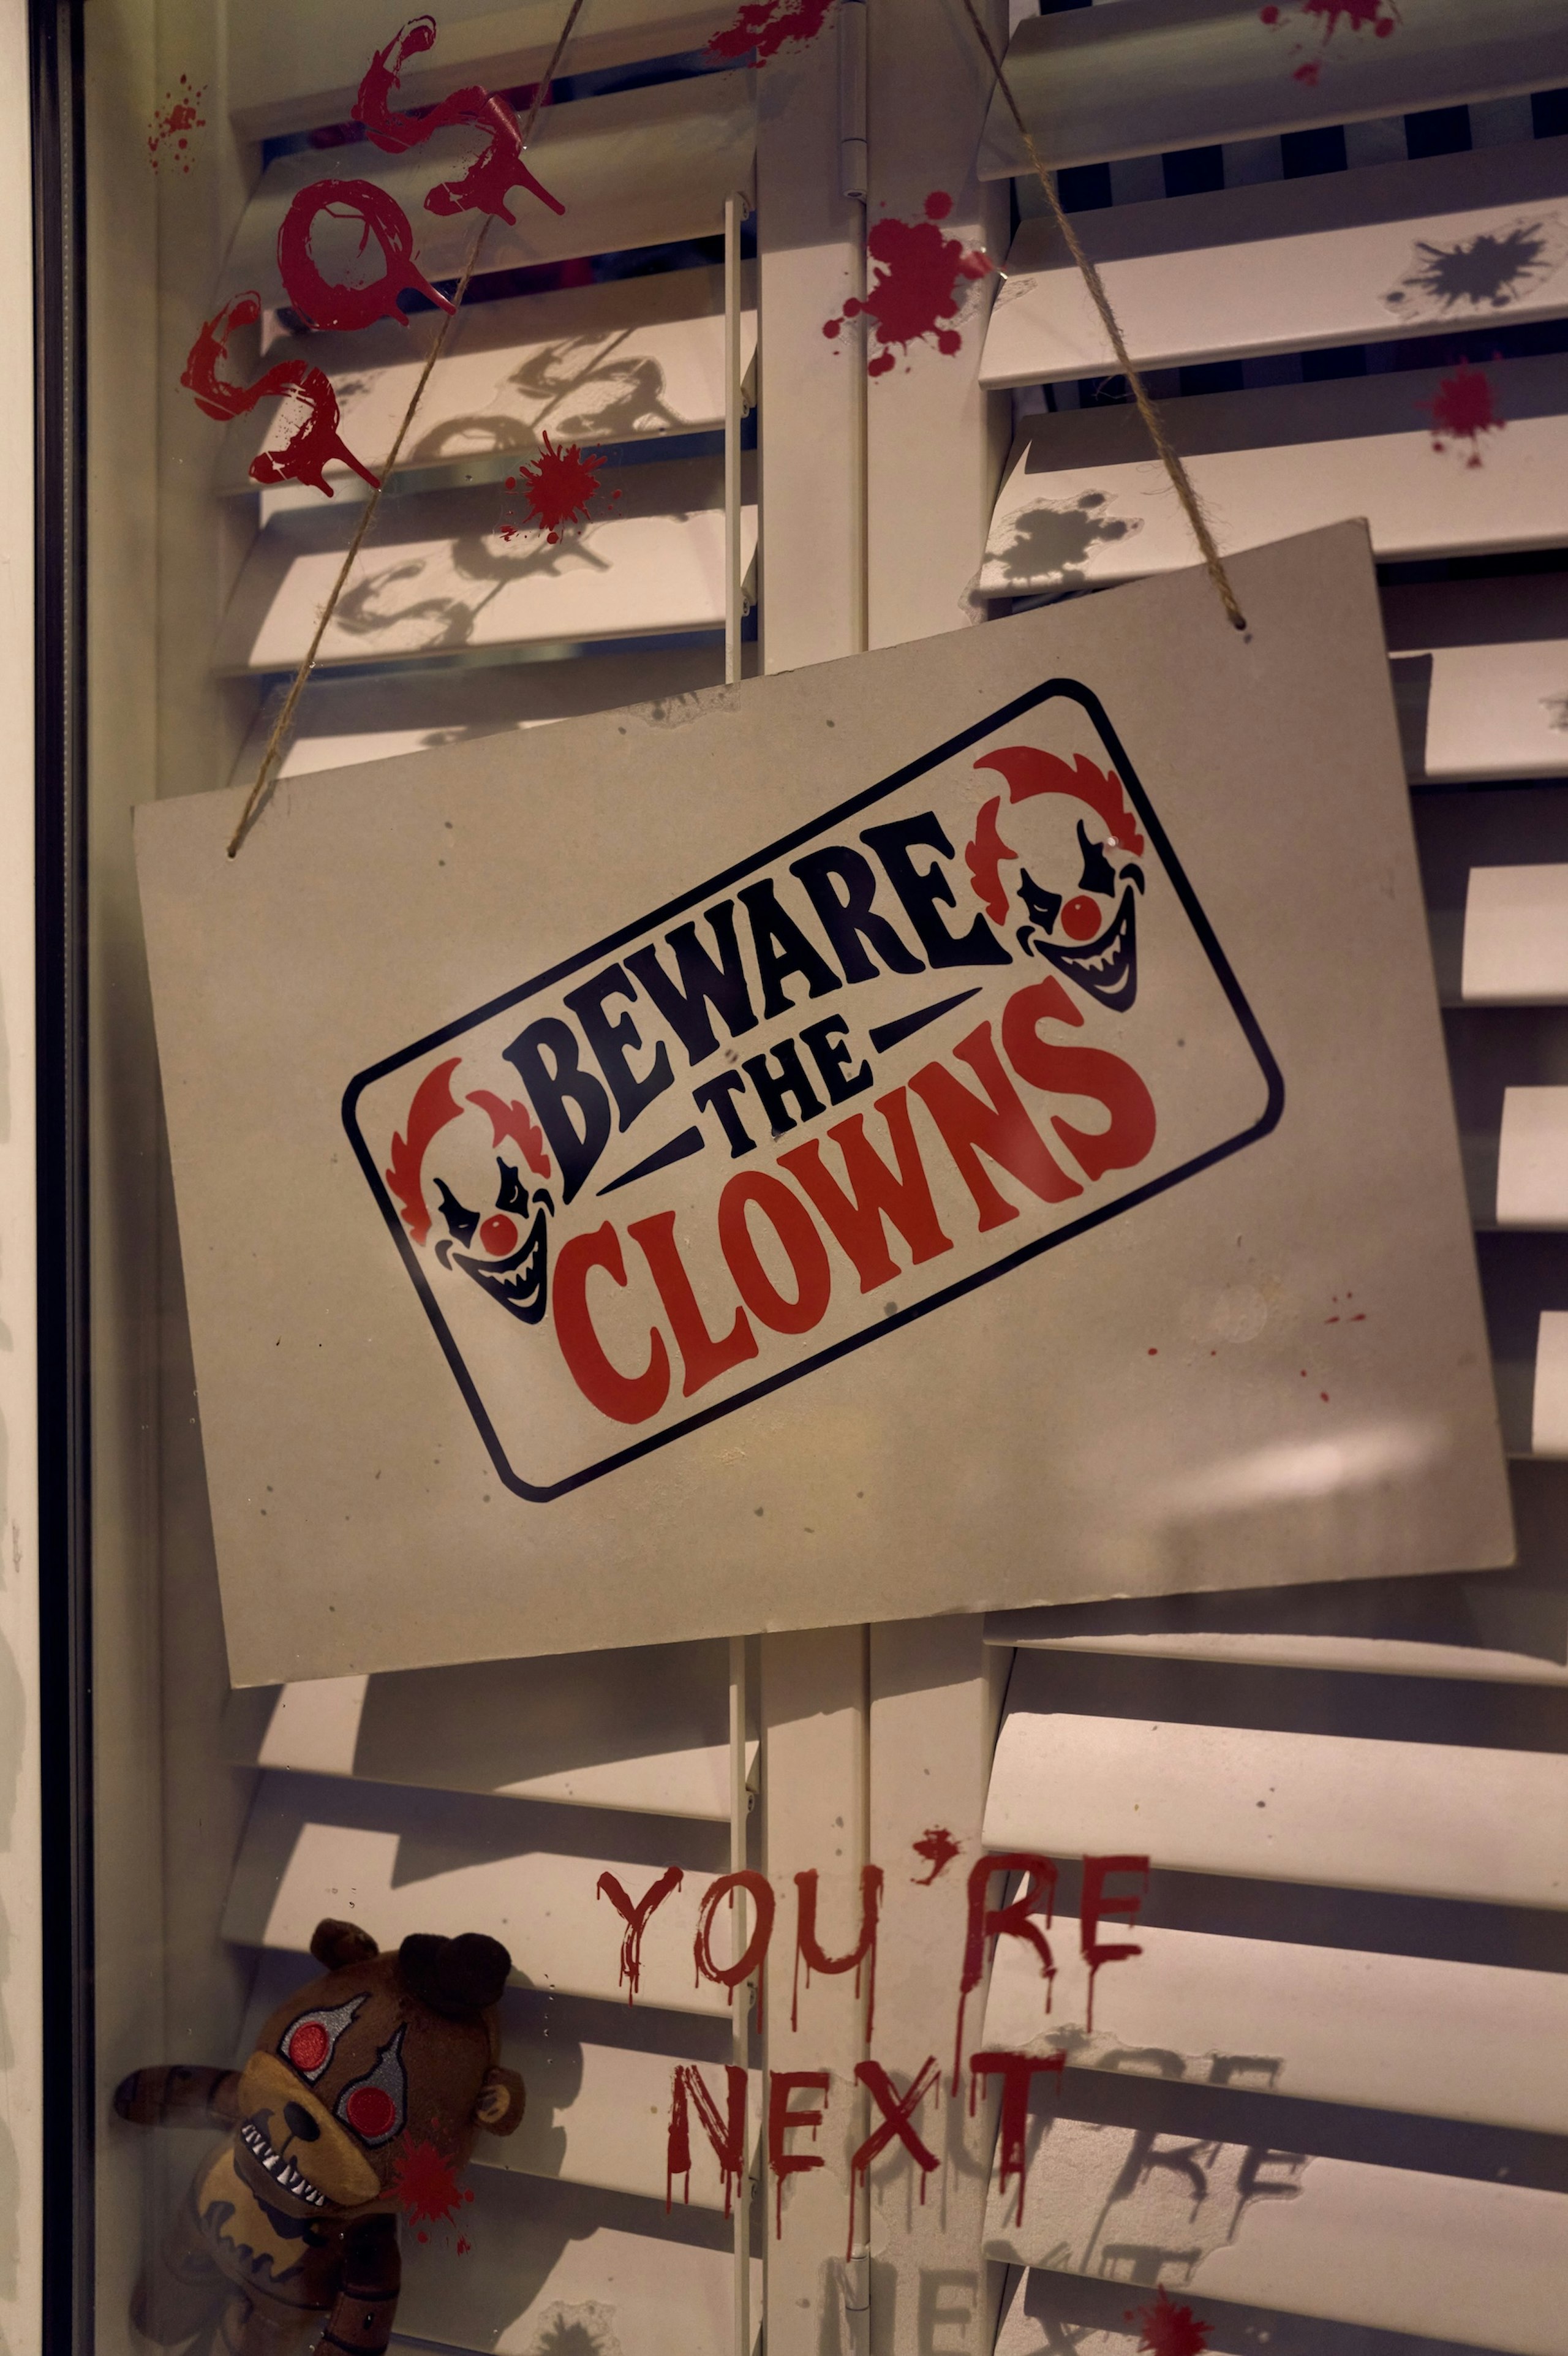
We used a Cricut Joy Xtra to design and create a Beware the Clowns sign, which we hung in the window and surrounded by blood splatter stickers, purchased from Amazon. We put cheap decorations to good effect by covering the front door in 'caution' and 'keep out' tape, and we draped strips of bloodstained cloth above the door.
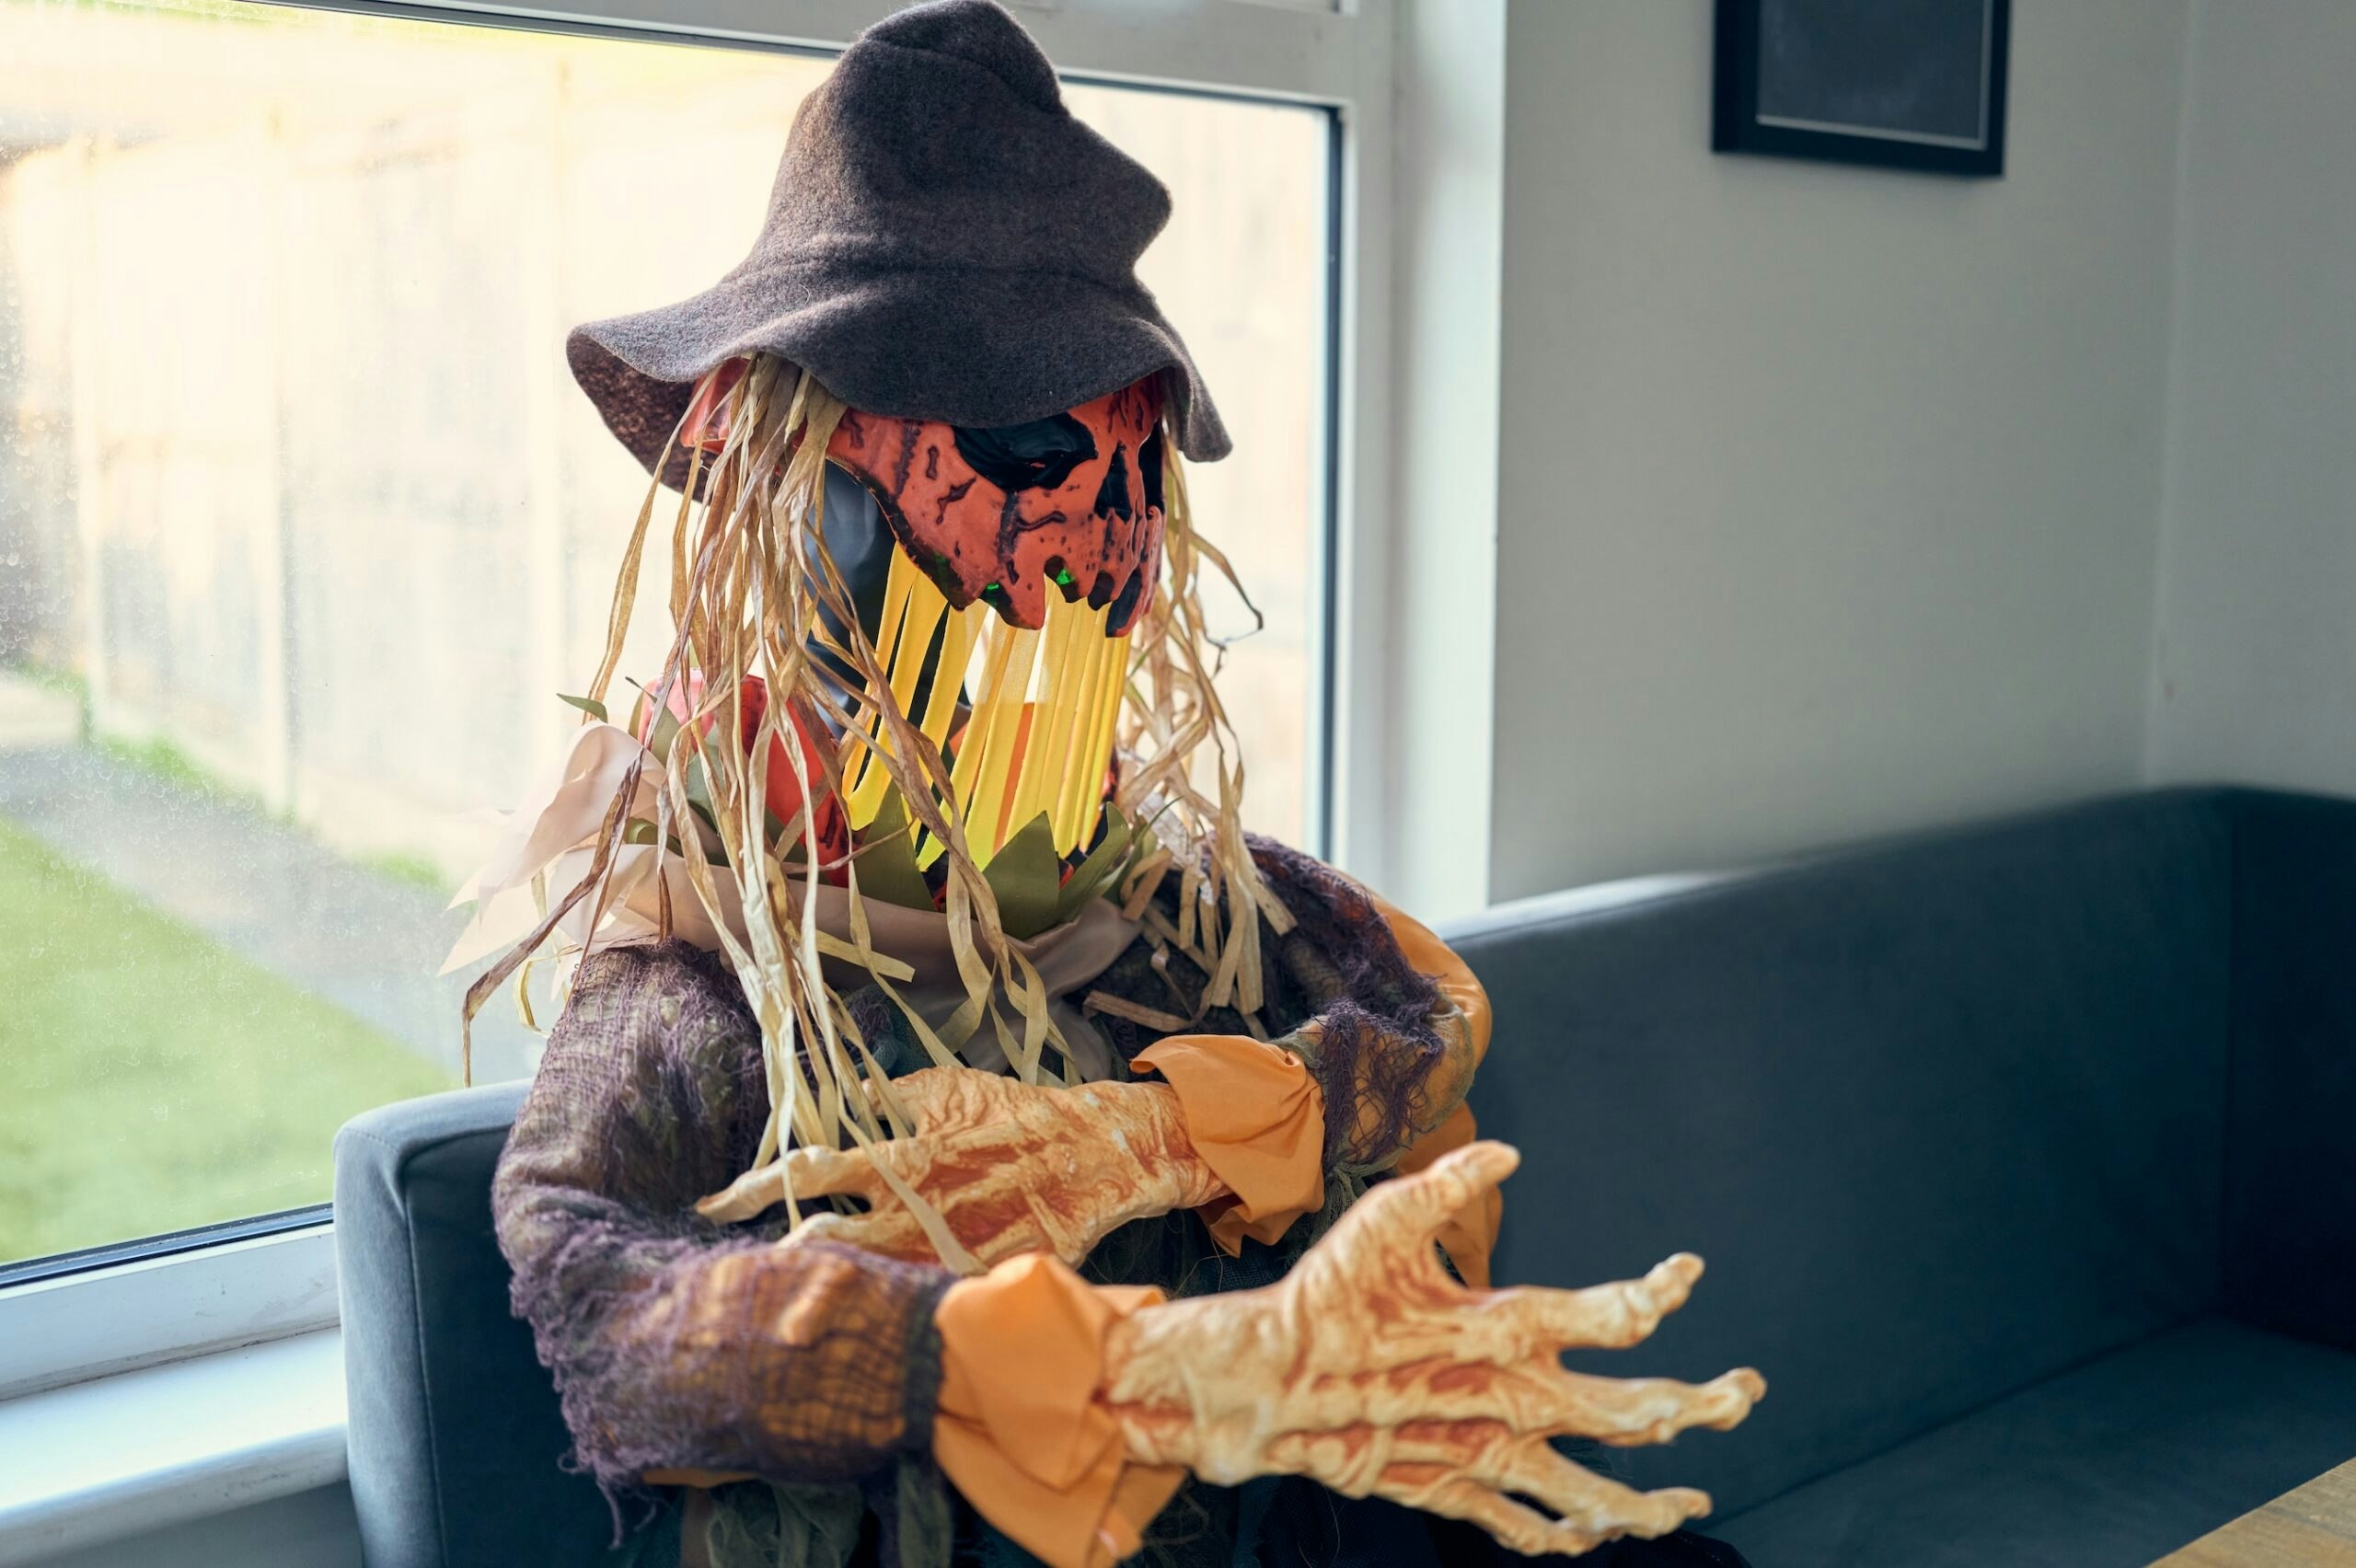
Following Craig's tip about making the most of ordinary objects, and in keeping with our clown theme, we tied a red helium balloon from a small grate at the front step, evoking the spirit of Stephen King's Pennywise from the horror It. In the kitchen, a strange pumpkin scarecrow joined us for breakfast.
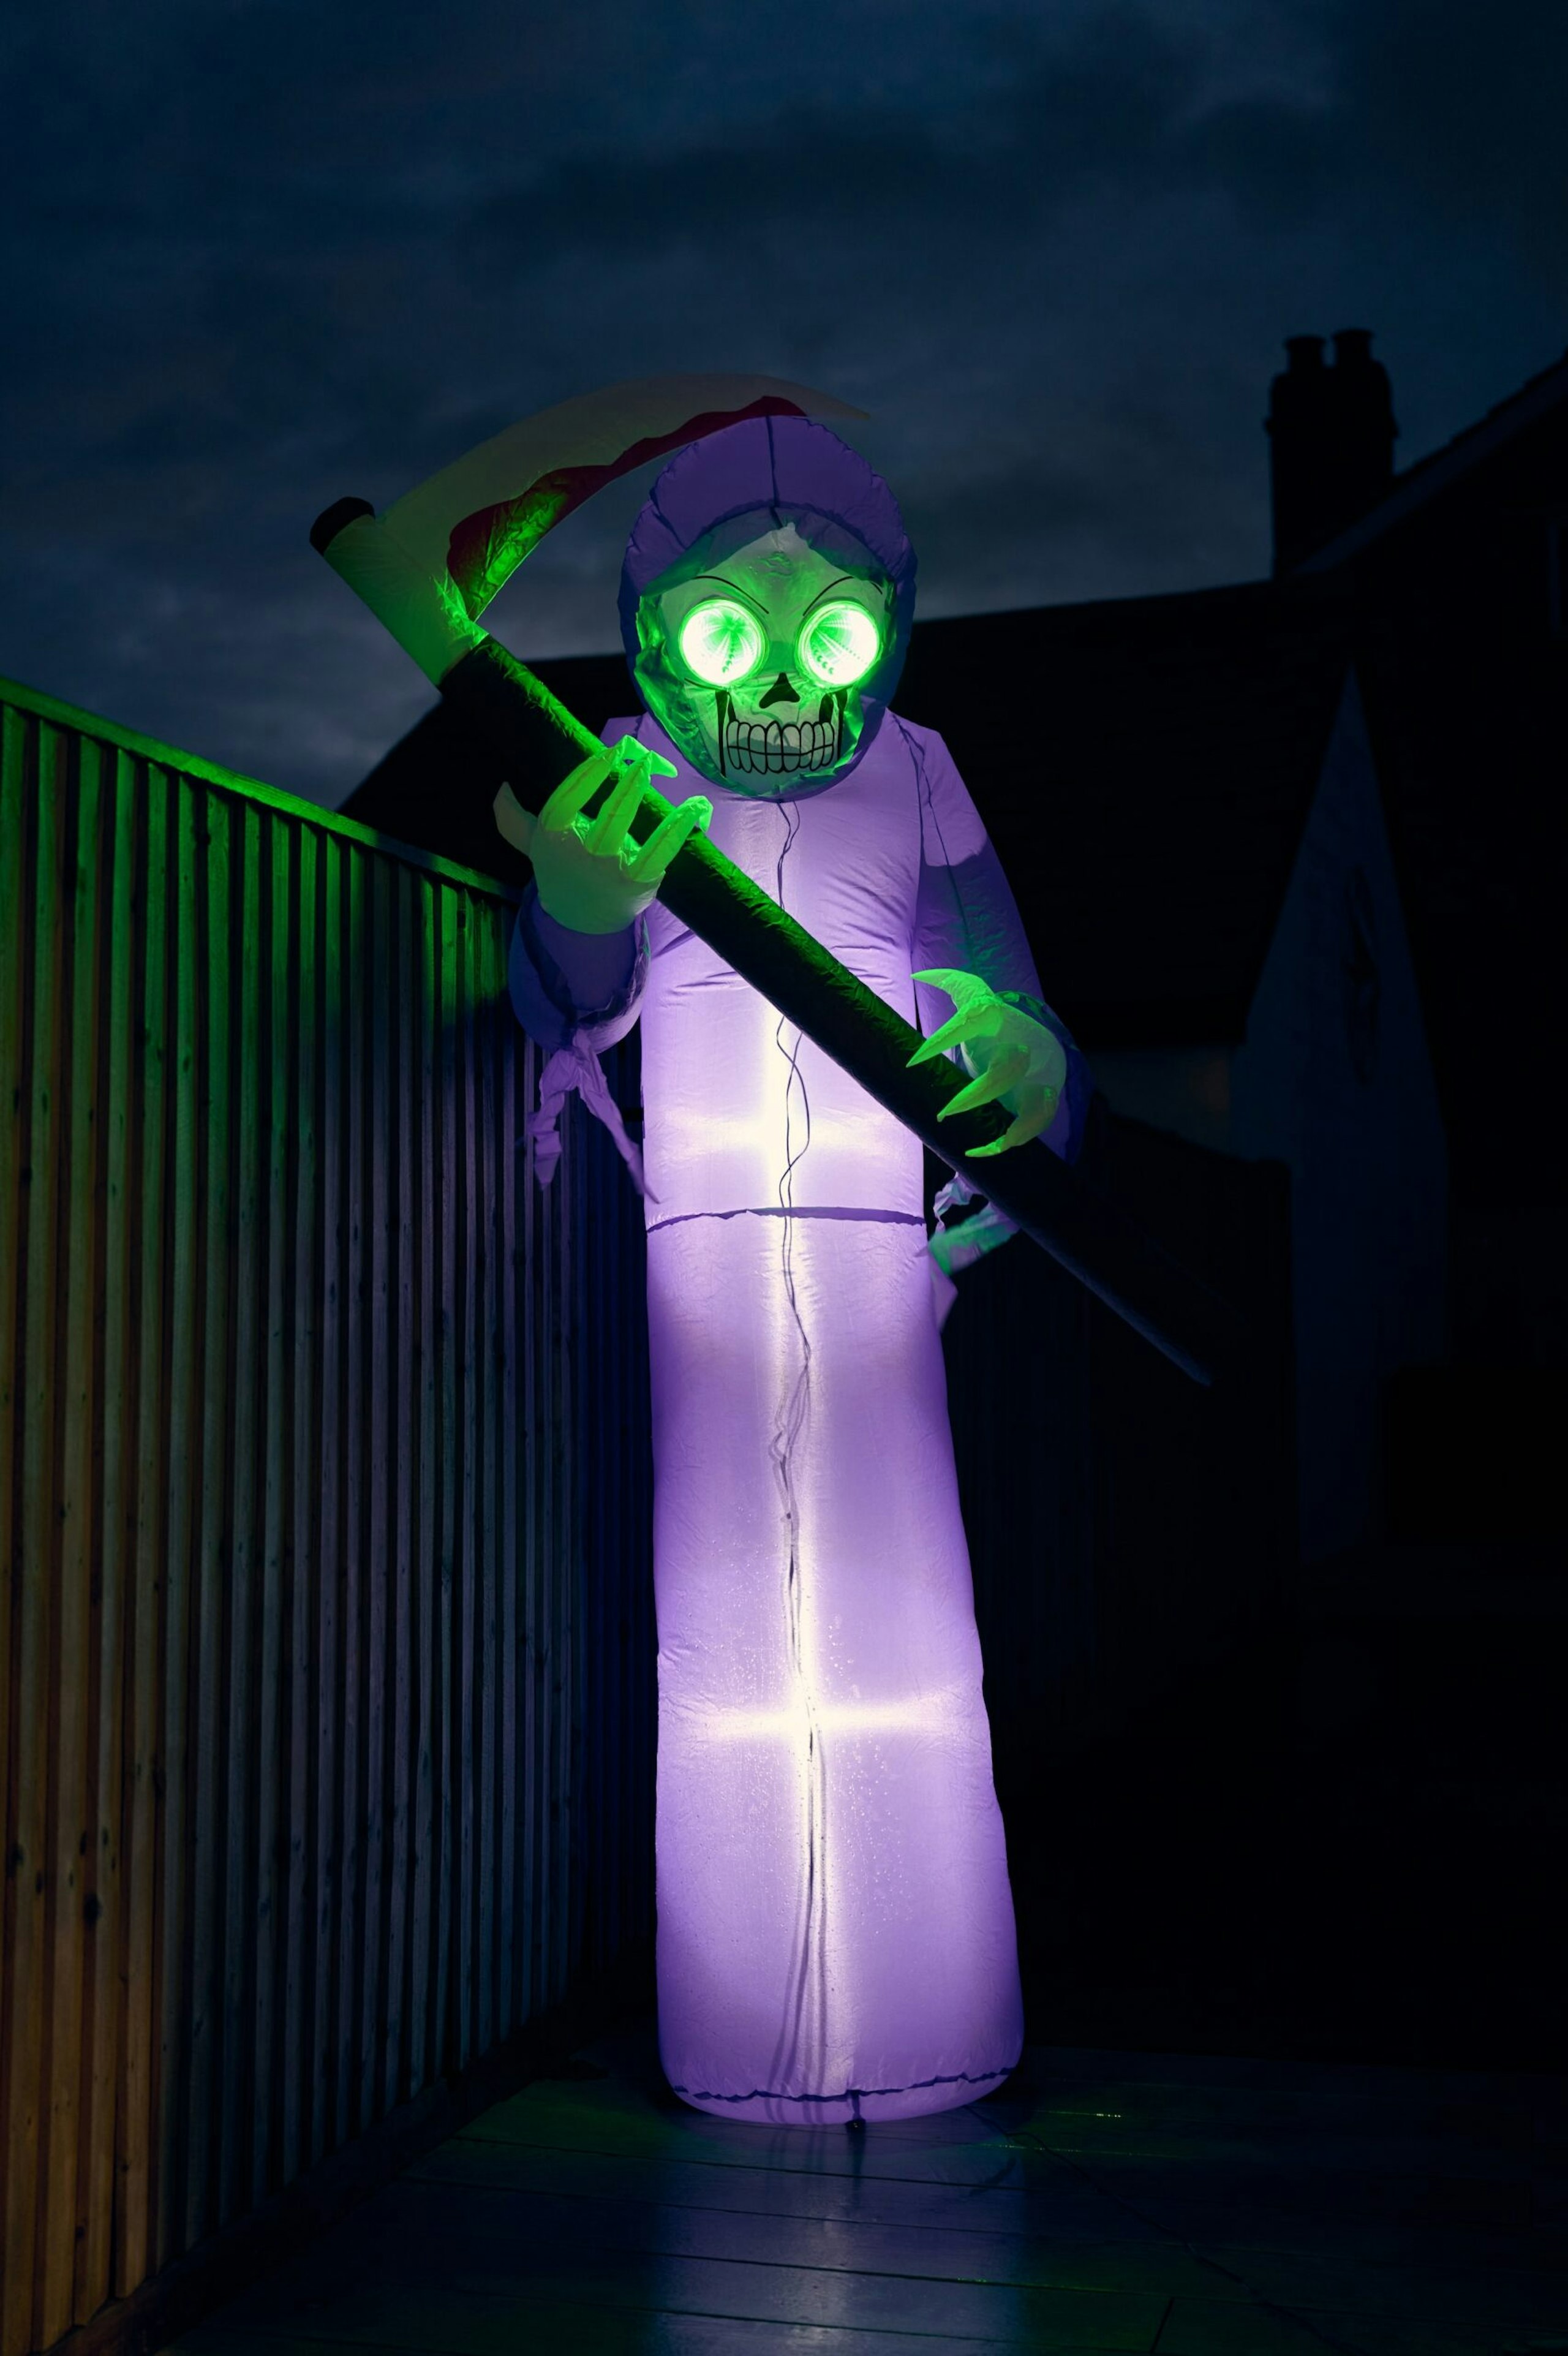
The Range also has a great variety of Halloween inflatables, and in the back garden, a giant Grim Reaper with hypnotising green eyes, stood ready to terrorise anyone who dared to step out into the darkness.
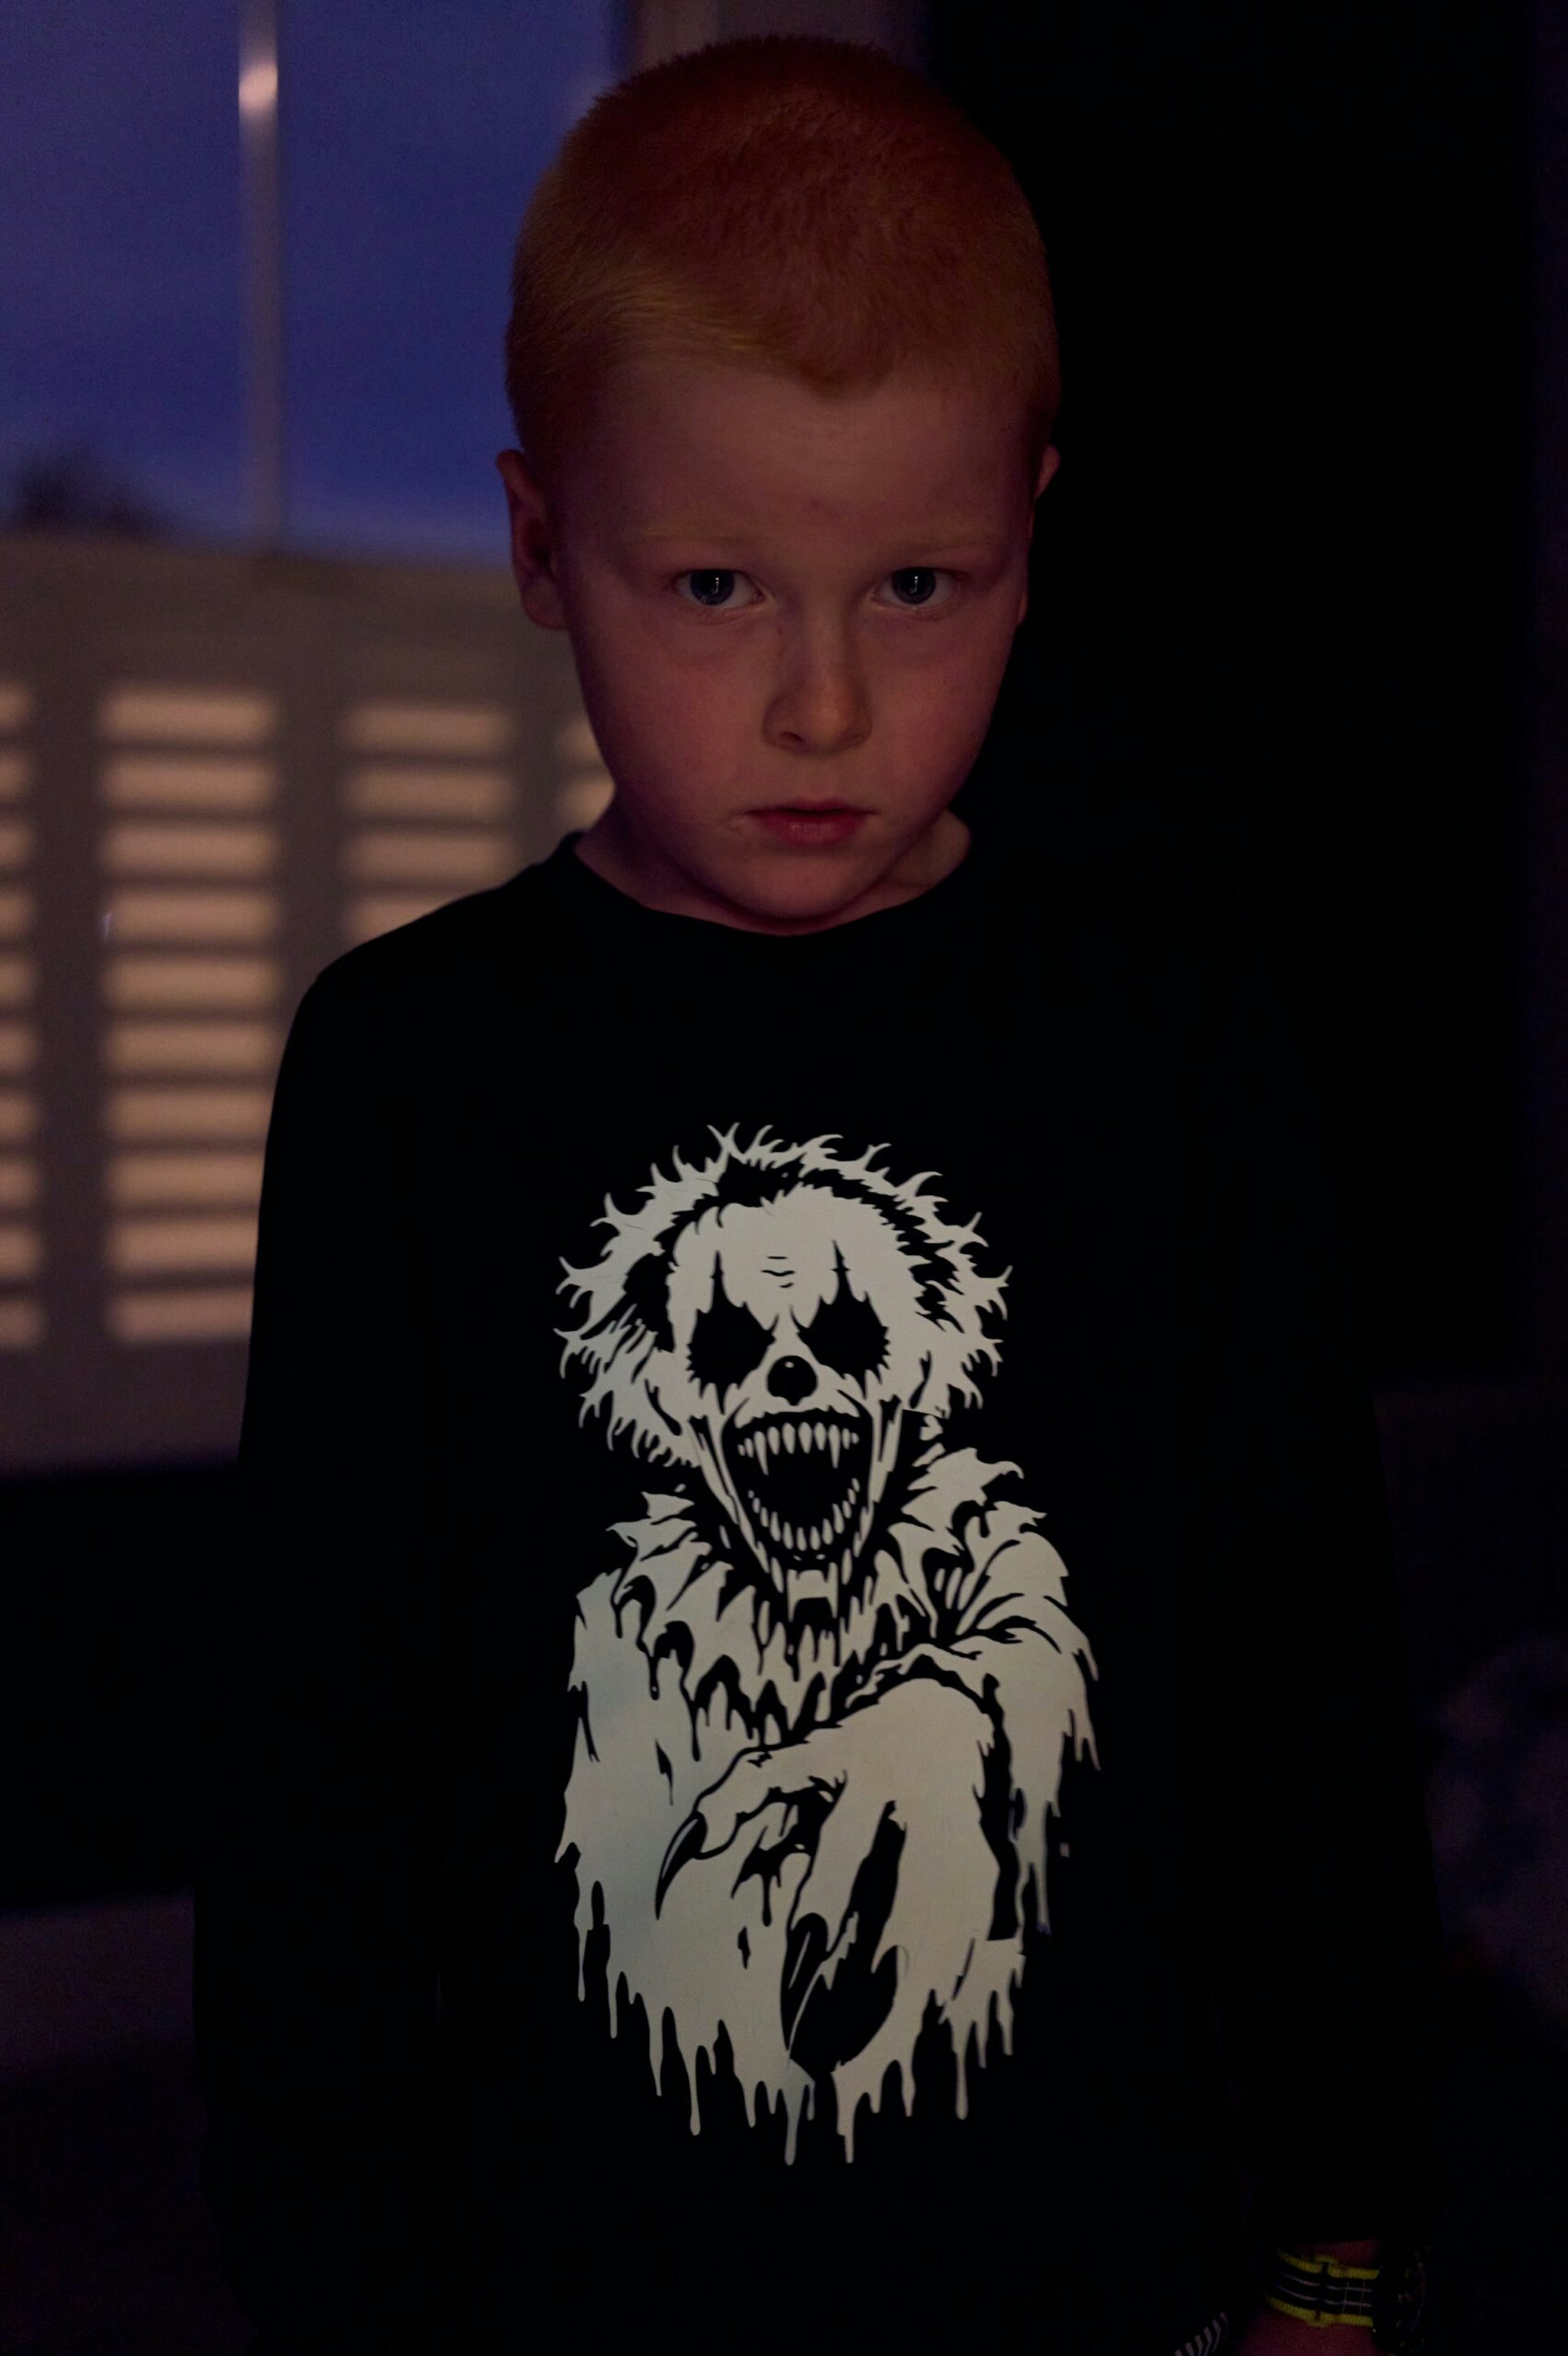
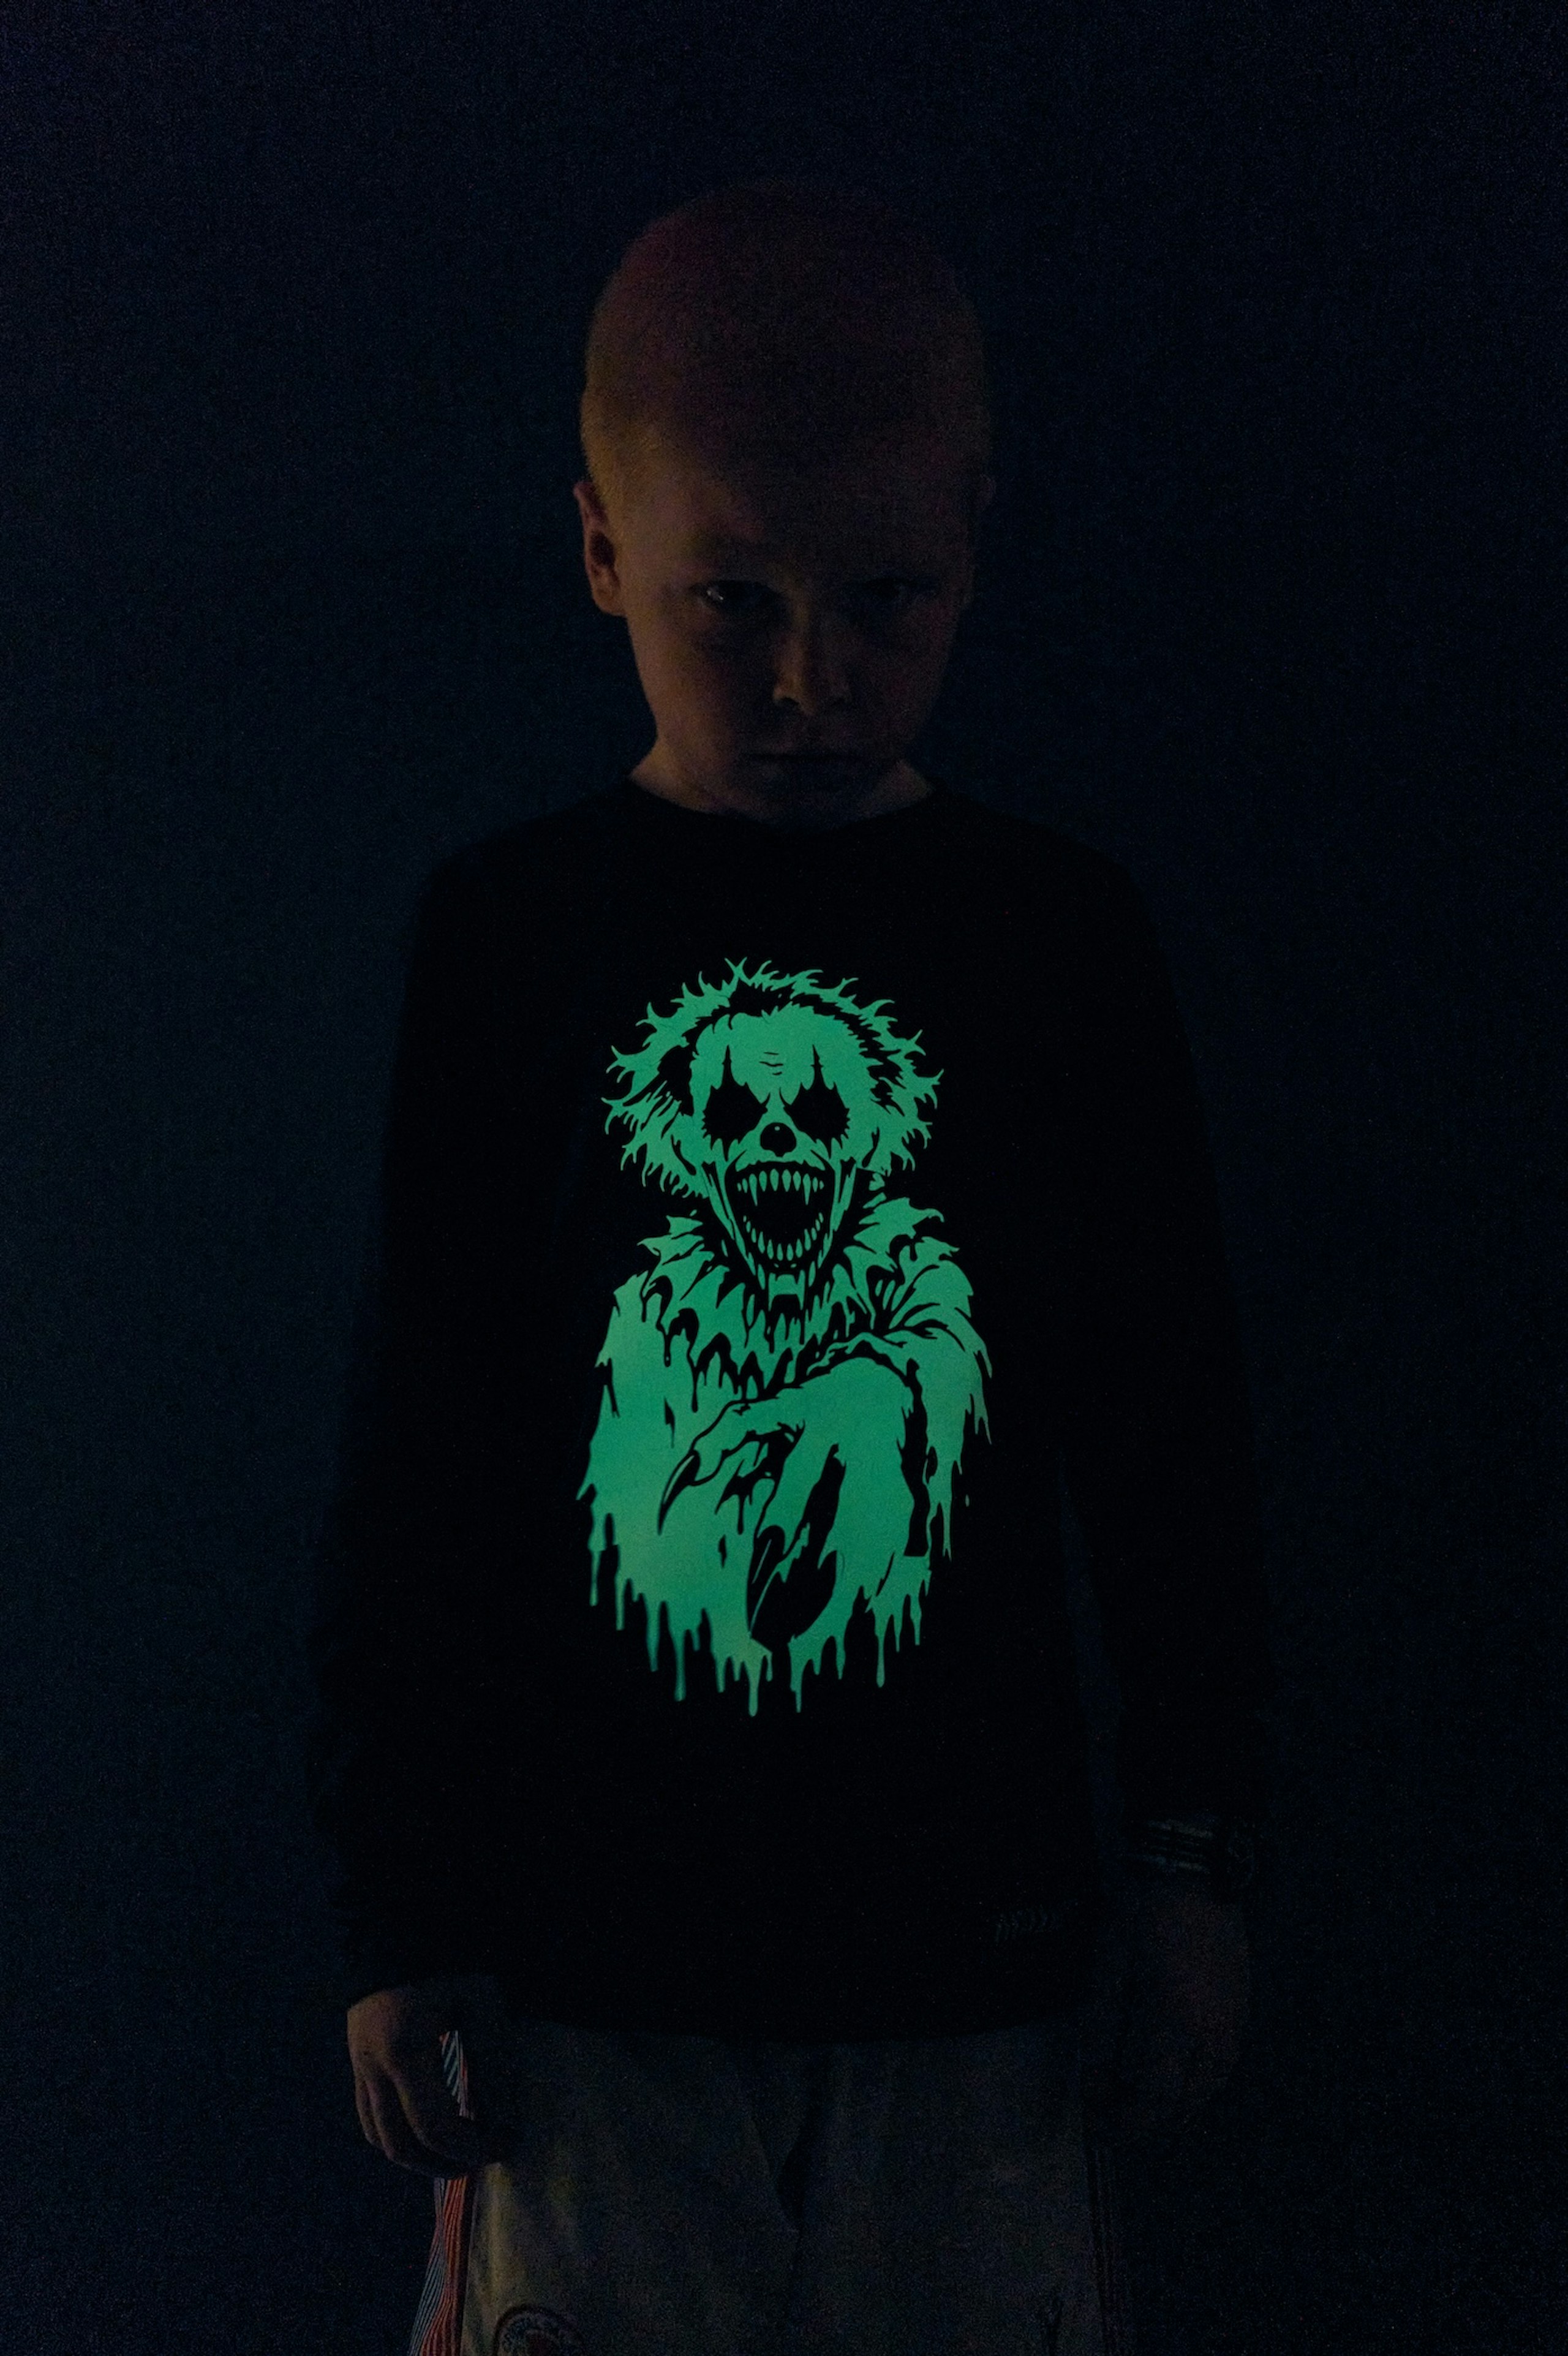
The best thing about using a Cricut, is that you're not limited to what you can purchase online and in the shops. You can let your imagination run wild and create your own custom designs. In keeping with the clown theme, we used glow-in-the-dark vinyl to create this fun but spooky top for my young son.
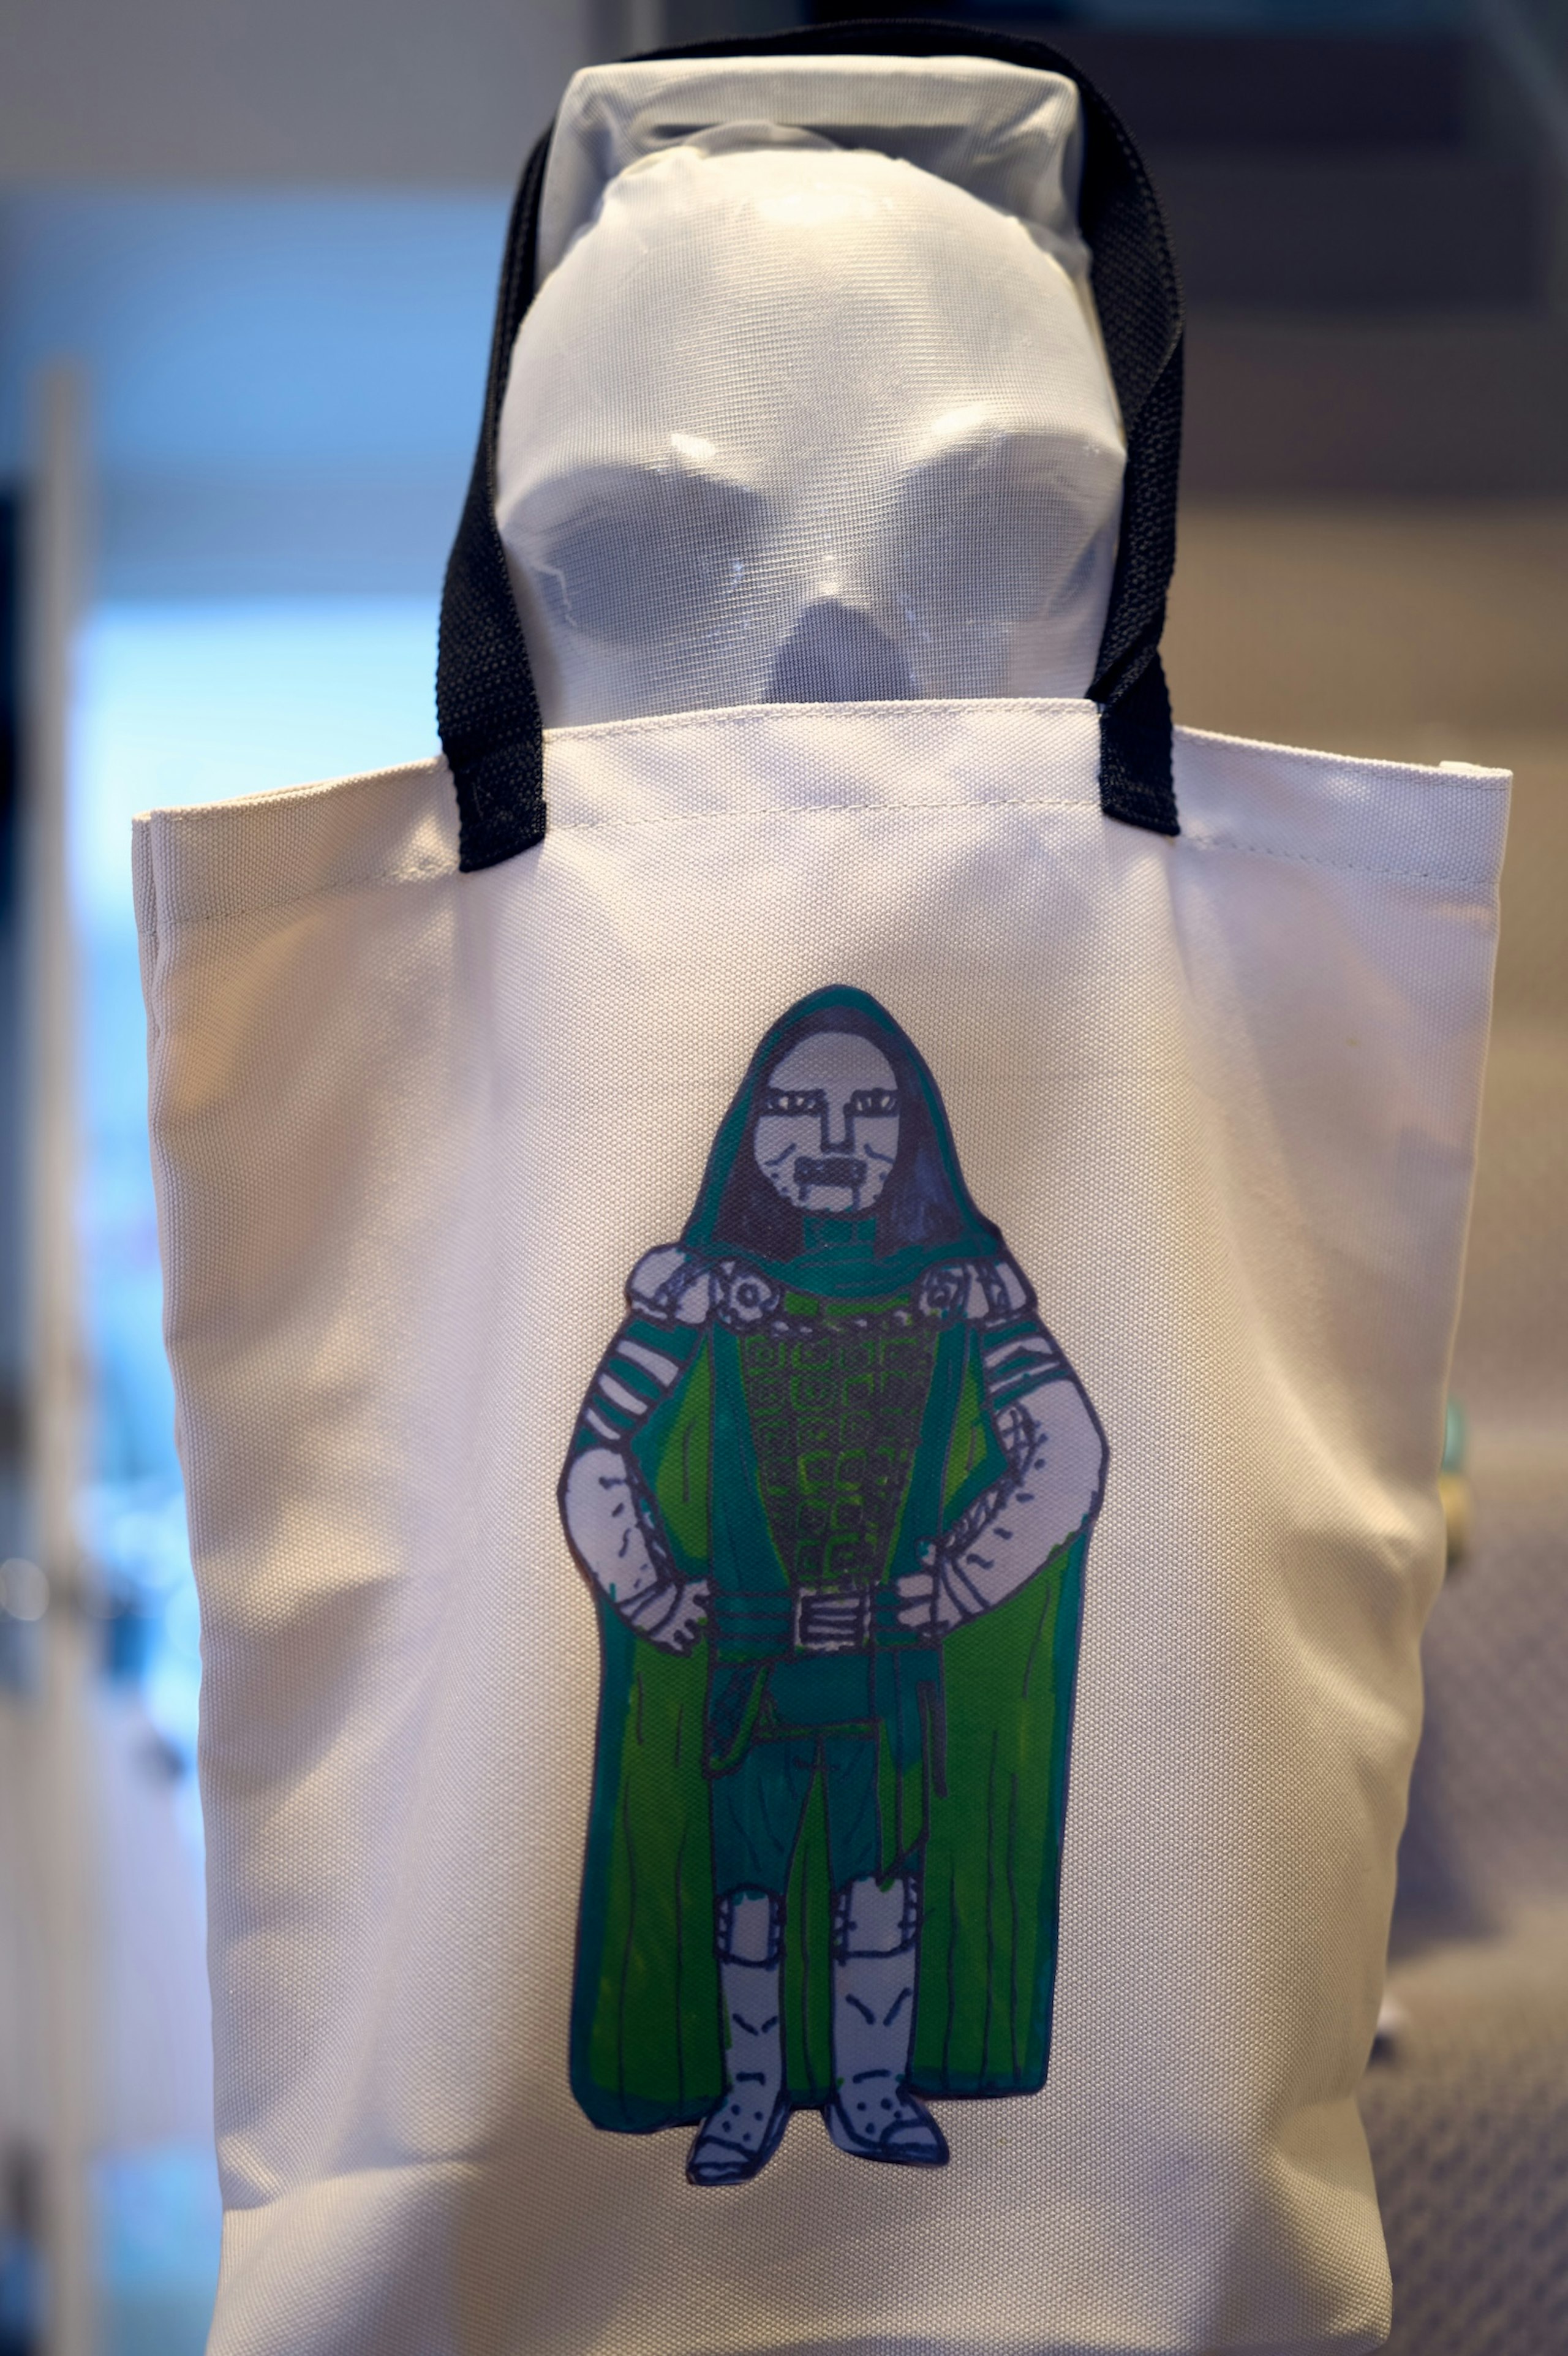
His older brother, who is a huge Marvel fan, drew his own Doctor Doom character, which we were then able to photographe and save as a high-res image, before uploading it to Cricut Design Space and then cutting it out on vinyl and ironing it on to a tote bag, ready for trick-or-treating!
With a few simple tips, carefully selected decorations and a bit of creativity, the home went from everyday to eerie. Halloween party guests enter - if you dare!